This article contains affiliate links. If you purchase through them, INUMAMI may earn a small commission at no extra cost to you. We only recommend what we genuinely use and trust and your support means the world to us.
These fudgy high-protein vegan bean brownies are made with red kidney beans, almond flour and dark chocolate, without eggs, dairy or protein powder. They are naturally gluten-free and refined sugar-free and you can finish them with the toppings you prefer.
I know: if you’ve already tried making plant-based, gluten-free brownies with beans, there’s a 98% chance that something about the texture or the final result left you disappointed. It happened to me too.
But I promise this recipe won’t let you down. I tested it at least 20 times to find the right balance, and these brownies are fudgy, intensely chocolatey, moist without being underbaked, and sturdy enough to hold their shape beautifully.
All of that in a dessert that’s vegan, gluten-free, refined sugar-free and naturally rich in plant-based protein.
If you’re in the mood for something chocolatey and autumnal, try also this pear and chocolate cake. It’s also gluten free and refined sugar free, and you won’t regret it.
Why These Might Be the Best Vegan Bean Brownies Ever
First of all, because I made them, and this is my space, and I’m learning how to sell myself properly. Second, I gave these brownies to someone who was deeply sceptical: the kind of person who hates tofu without ever having tasted it, and who is instinctively suspicious of anything unfamiliar. Food is identity, after all, which makes it a rather delicate subject. But that is a conversation for another day.
In any case, this person — a particularly difficult taste tester to convince — had to admit that they couldn’t tell the difference between these brownies and classic ones. When I revealed that they were made with beans, they pulled a face and perhaps regretted their original answer. They had already placed their trust in a vegan recipe; the beans were evidently one step too far. Either way, these brownies passed the quality test.
You’ll love these brownies if you already love classic brownies, and you’ll love them even if you’ve never had a brownie before.
What Do Kidney Beans Do in Brownies?
The beans deserve a paragraph of their own because they are the backbone of this recipe. If you’ve never used beans in a dessert before, let me reassure you: no, these brownies do not taste like beans.
And if you’re already familiar with bean-based desserts but usually reach for the classic black or white beans, the good news is that you can use whichever beans you prefer. I used red kidney beans simply because they were what I had at home. I tested the same recipe with white beans: it worked. I tried it with black beans: it worked. I even made it with chickpeas: that worked too.
I haven’t attempted a lentil version yet, but if anyone has the initiative ( and courage ) to try it using the same quantity, please let me know how it goes.
Together with the almond flour, the beans also provide the plant-based protein and fibre that make these brownies more nutritious and satisfying than the classic version.
Let’s Get Technical: Why Do Beans Work in Brownies?
Once blended, cooked beans create a smooth base that provides moisture, starch, fibre and protein. Their starches help the batter set in the oven, while the fibre retains enough moisture to keep the centre fudgy. In this recipe, almond flour adds structure and richness, while the dark chocolate and coconut oil firm up as the brownies cool, allowing them to hold their shape without eggs, gluten or large amounts of flour. Easy peasy.
Ingredients and Substitutions
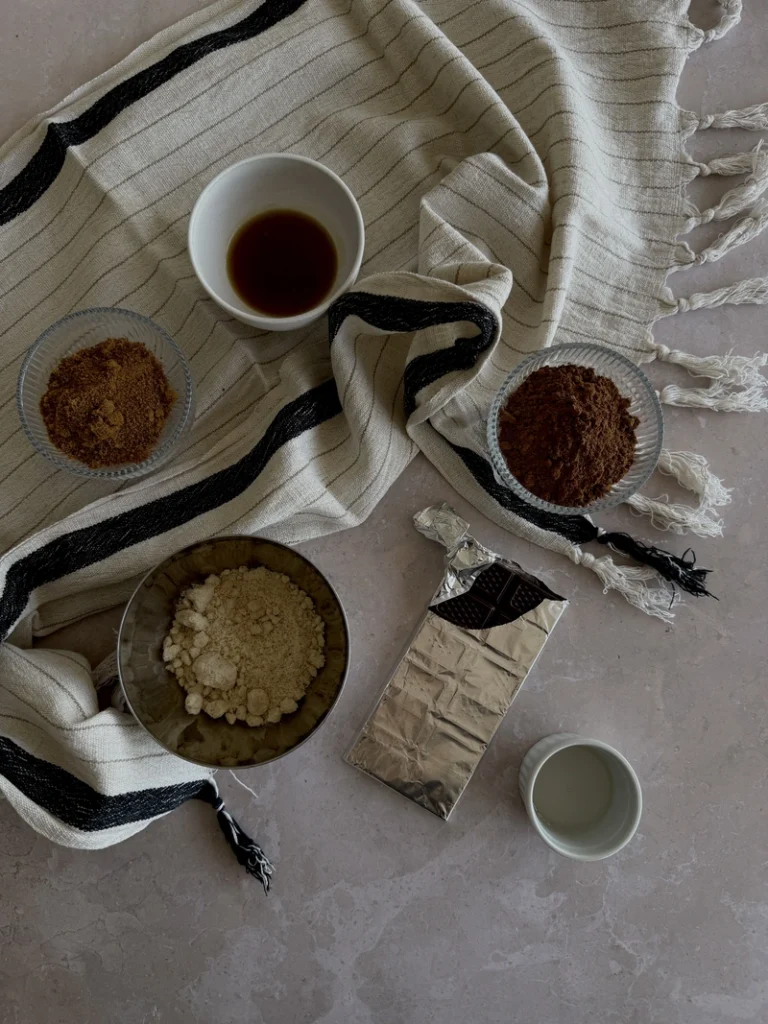
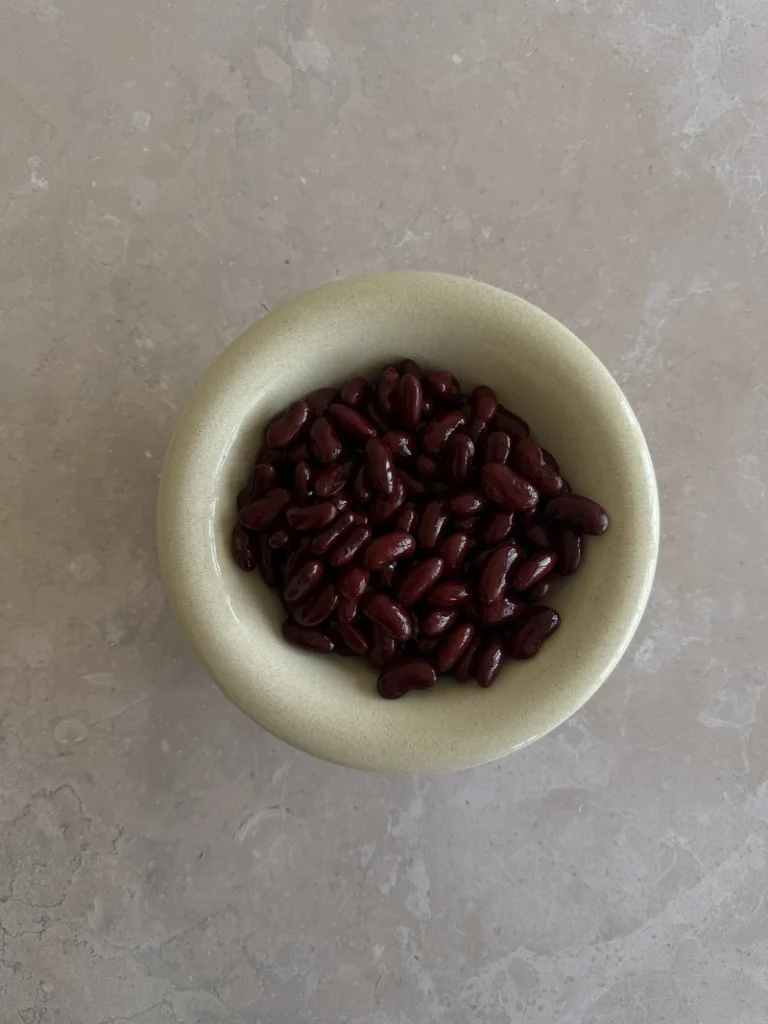
Cooked red kidney beans
Rinse and drain them thoroughly before weighing. They create the moist, fudgy base of the brownies while adding fibre and plant-based protein.
Substitutions: Replace them with the same weight of cooked black beans, white beans or chickpeas. I have tested all three successfully.
Dark chocolate
Provides richness, structure and a deep chocolate flavour. Choose refined sugar free good-quality vegan dark chocolate and, if necessary, check that it is certified gluten-free.
Substitutions: You can use any vegan chocolate containing approximately 70–85% cocoa. A sweeter chocolate will produce sweeter brownies, so you may want to reduce the maple syrup slightly.
Almond flour
Adds richness and helps the brownies hold together without wheat flour. Finely ground almond flour produces a smoother texture than coarse almond meal.
Substitutions: Hazelnut flour can be used in the same quantity, although it will add a noticeable hazelnut flavour. For a nut-free version, finely ground sunflower seeds may work, but the flavour and texture will be slightly different.
Coconut sugar
Sweetens the brownies and contributes a subtle caramel flavour. I blend it briefly before using it so that it dissolves more easily into the batter.
Substitutions: Light brown sugar can be used in the same quantity, although the brownies will no longer be refined sugar-free. I wouldn’t replace it entirely with liquid sweetener, as this would alter the consistency of the batter.
Unsweetened cocoa powder
Deepens the chocolate flavour and absorbs some of the moisture provided by the beans.
Substitutions: Carob powder can be used in the same quantity, although it is naturally sweeter and has a milder, more caramel-like flavour. The brownies will taste less intensely chocolatey, so you may also want to reduce the coconut sugar slightly.
Maple syrup
Adds sweetness and moisture while helping the batter blend smoothly. This Maple Syrup is the one i use most.
Substitutions: Agave syrup can be used in the same quantity. Rice syrup can also work, but it is less sweet and may make the batter slightly thicker.
Coconut oil
Melted together with the dark chocolate, it contributes richness and helps the brownies firm up as they cool.
Substitutions: Use the same quantity of vegan butter or a neutral oil. Vegan butter will give the closest result; a liquid oil may produce slightly softer brownies.
Unsweetened soy milk
Helps transform the beans into a completely smooth batter. Start with 20 ml and add more only if your food processor needs it.
Substitutions: Any unsweetened plant milk will work, including almond, cashew or oat milk. Choose certified gluten-free oat milk if necessary.
Vanilla extract
Rounds out the chocolate flavour and helps disguise any remaining earthy notes from the beans.
Substitutions: Vanilla paste can be used in the same quantity. Vanilla powder also works, but use only a small amount because it is more concentrated.
Baking powder
A small quantity prevents the brownies from becoming excessively dense without giving them a cakey texture.
Substitutions: You can omit it for an even denser, fudgier brownie. I wouldn’t replace it directly with baking soda, as the two ingredients behave differently.
Salt
Enhances the chocolate flavour and balances the sweetness.
Substitutions: Fine sea salt or table salt will both work. If using coarse salt, dissolve it in the soy milk before adding it to the batter.
How to Make Vegan Bean Brownies
If you’re ready to start baking, you can skip straight to the recipe card below, where you’ll find the complete ingredient quantities, concise instructions and the recipe video.
In this section, however, we’ll take a closer look at the process. I’ll explain what the batter should look like at each stage, which details make the greatest difference and how to avoid the small problems that can affect the final texture. Bean brownies are simple to prepare, but blending, consistency, baking time and cooling all matter if you want them properly fudgy rather than wet, grainy or overly dense.
Step 1: Choose Your Pan and Prepare the Beans
This recipe was developed for a 20 × 11 cm loaf pan, which produces thick, fudgy brownies. However, you can adjust the quantities to suit the pan you already have.
As a simple guide, double all the ingredients when using a pan with approximately twice the surface area. For example, a 20 × 20 cm square pan is almost twice the size of mine, so a double batch will produce brownies with a similar thickness.
If you double the recipe and have a little batter left over, simply bake it in a small oven-safe dish, ramekin or individual mould. The shape does not matter: once cooled, the brownies can be cut into small squares, rectangles or any other shape you prefer. You can also bake individual portions in shaped moulds, although they will probably require a shorter baking time.
Once you have chosen your pan, line it with baking paper, leaving some overhang so that you can lift out the brownies easily after cooling. Preheat the oven to 175°C/350°F. Rinse the cooked beans thoroughly under cold water, then leave them to drain for at least 10–15 minutes. If they still look wet, pat them gently with a clean kitchen towel. Excess water can make the centre of the brownies too soft and prevent it from setting properly.
Step 2: Blend the Coconut Sugar (Optional)
Place the coconut sugar in the food processor and blend it briefly on its own. Coconut sugar has relatively large crystals, so this extra step helps it dissolve more evenly into the batter and gives the brownies a smoother texture. It does not need to become powdered sugar; a finer, sand-like consistency is enough. You can also skip this step and use it whole.
Step 3: Melt the Chocolate and Coconut Oil
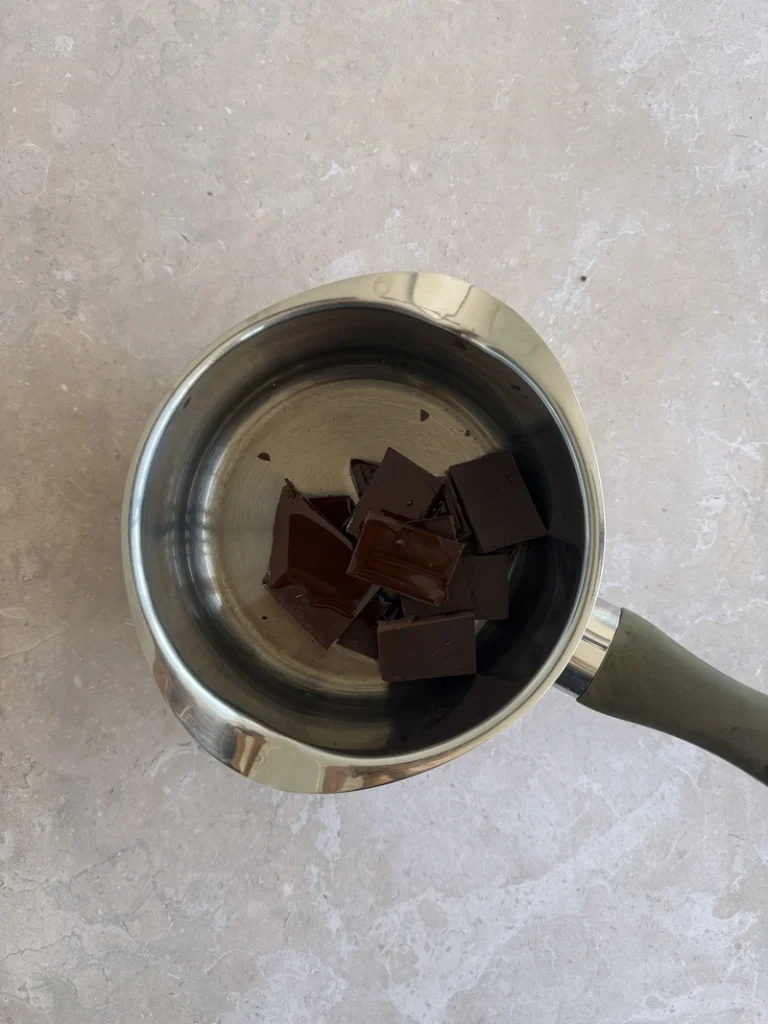
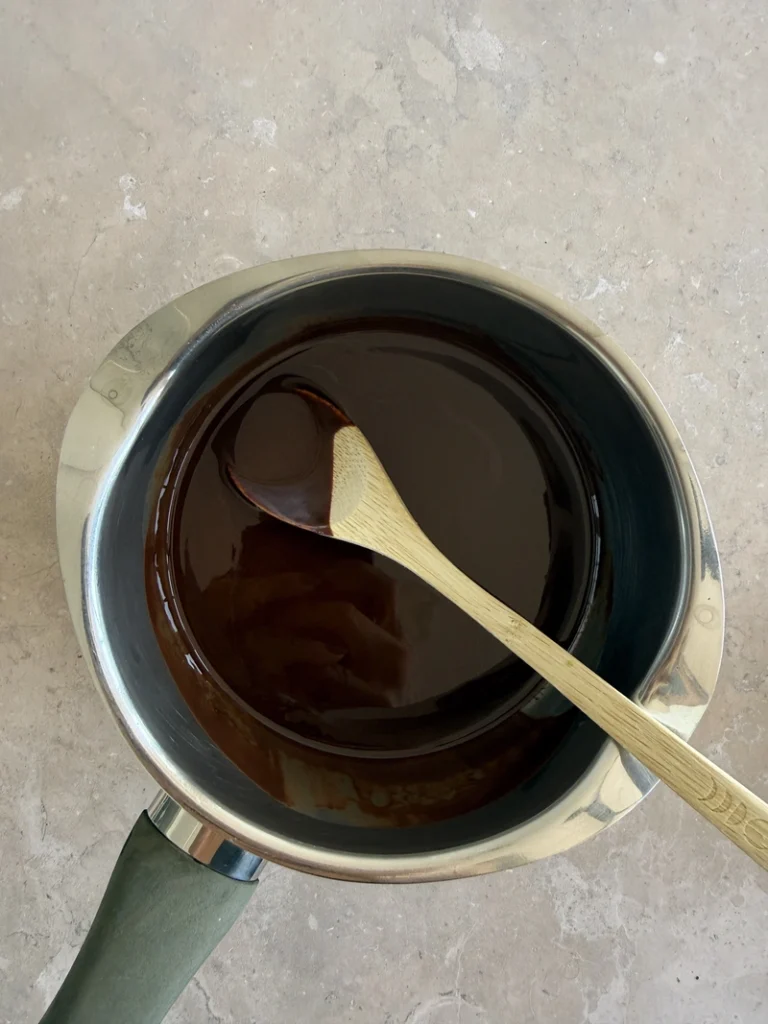
Melt the dark chocolate and coconut oil together, either over a bain-marie or in the microwave in intervals of 15–20 seconds. Stir thoroughly after each interval to avoid burning the chocolate. Once completely smooth, set it aside for a few minutes. It should remain fluid but should not be piping hot when you add it to the bean mixture.
Step 4: Blend the Beans Until Completely Smooth
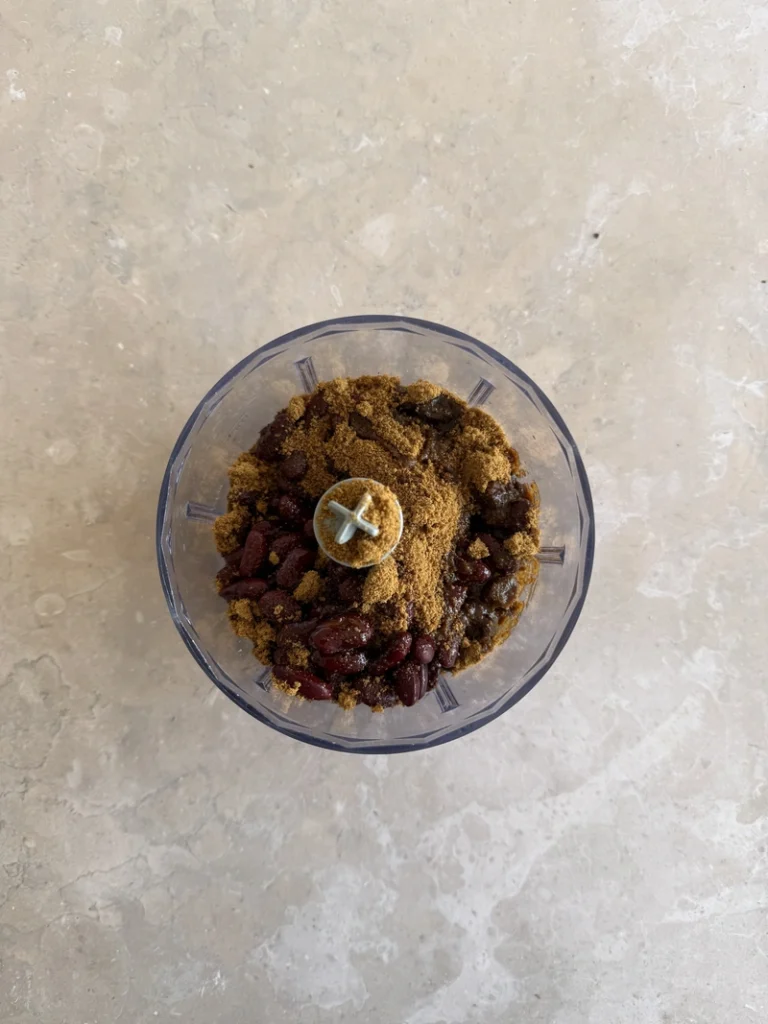
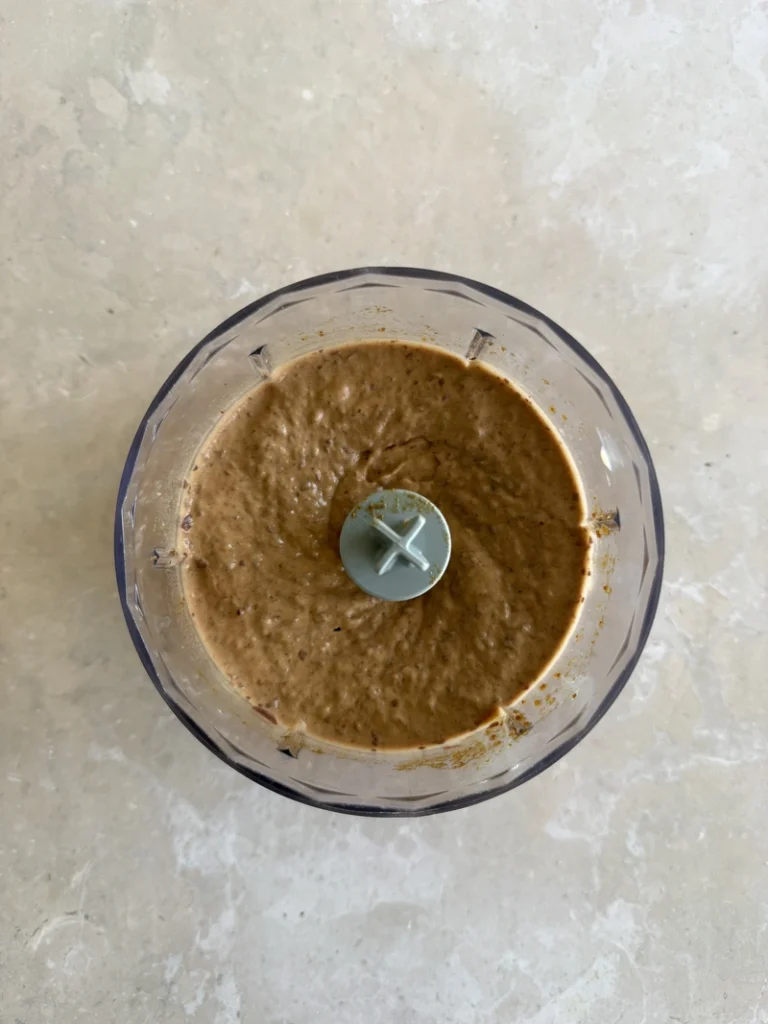
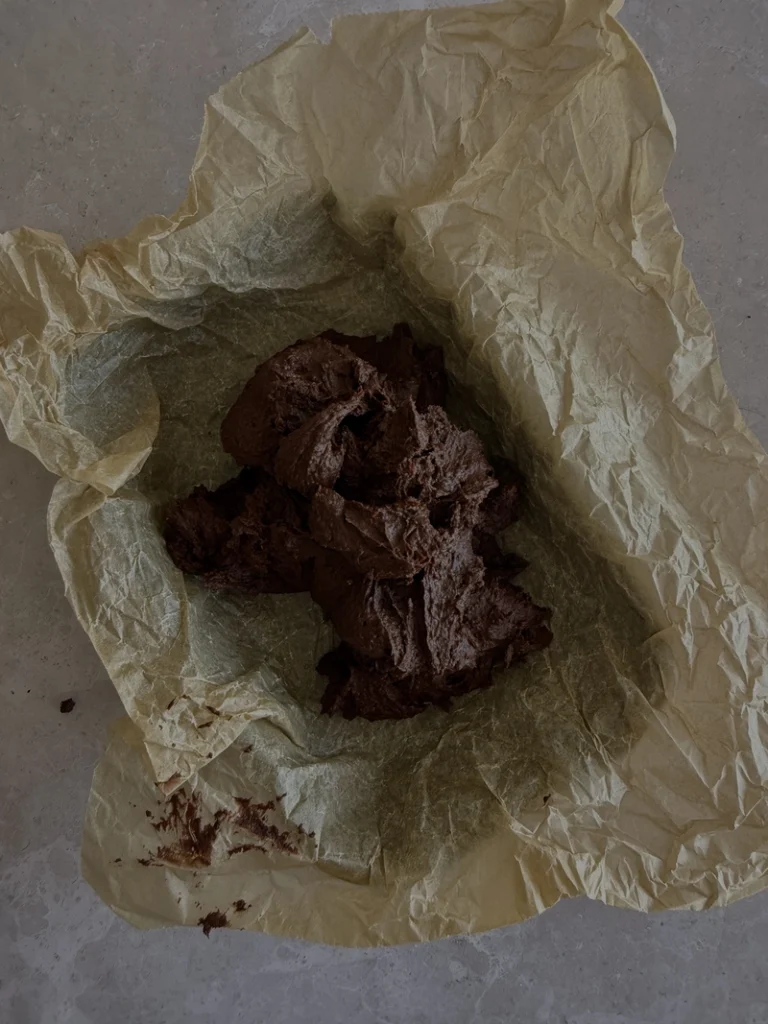
Add the drained beans, coconut sugar, maple syrup, vanilla and 20 ml of soy milk to the food processor. Blend for longer than you think you need to, stopping several times to scrape down the sides and base of the bowl. The mixture should become thick, creamy and completely smooth, without visible bean skins or small pieces.
This is one of the most important steps: insufficient blending is the main reason bean brownies can develop a grainy texture or retain a noticeable bean flavour.
Step 5: Add the Dry Ingredients
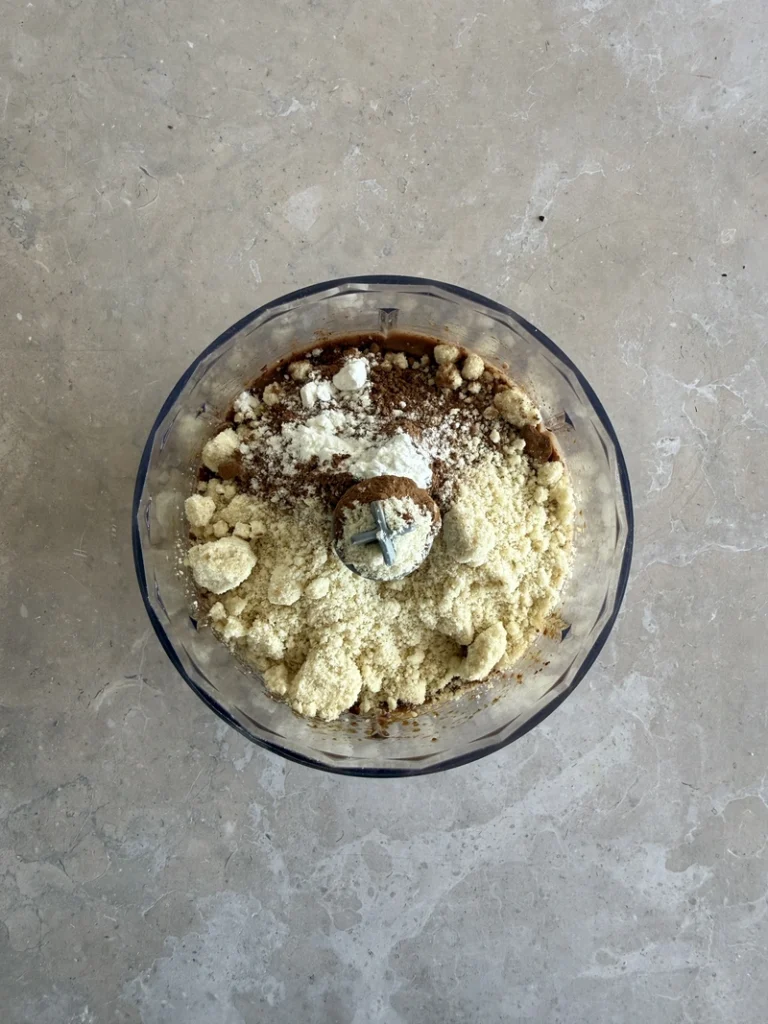
Add the almond flour, cocoa powder, baking powder and salt. Blend briefly, just until everything is evenly incorporated. At this stage, the mixture will become considerably thicker. Avoid blending it unnecessarily once the dry ingredients have disappeared into the batter.
Step 6: Incorporate the Melted Chocolate
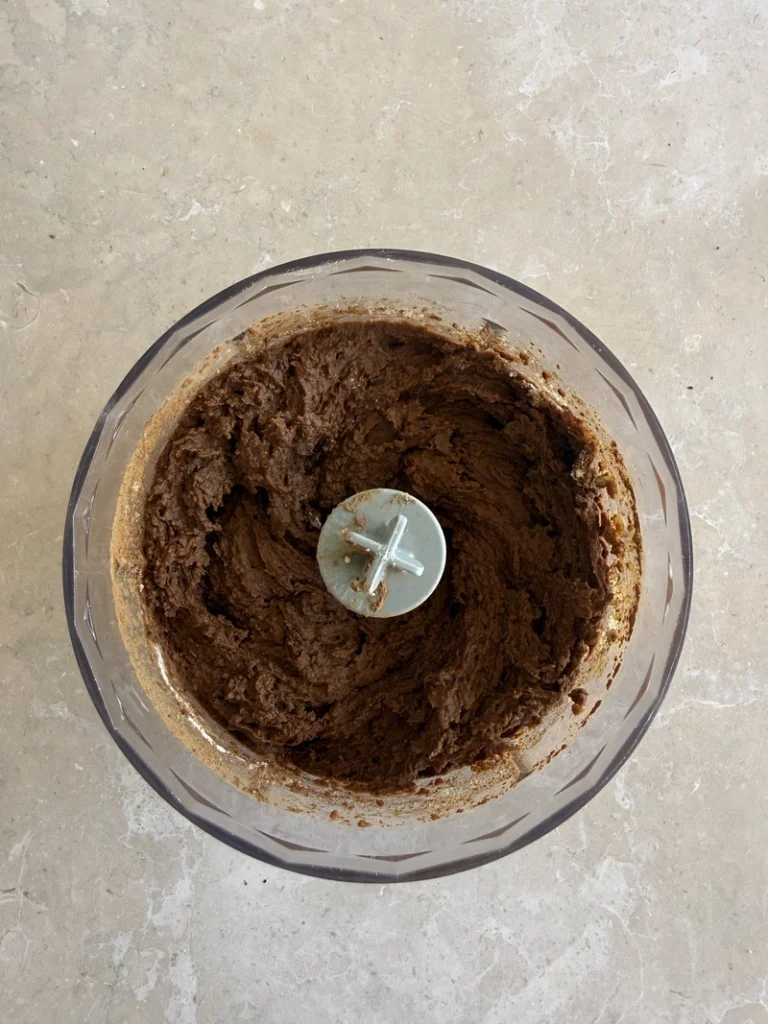
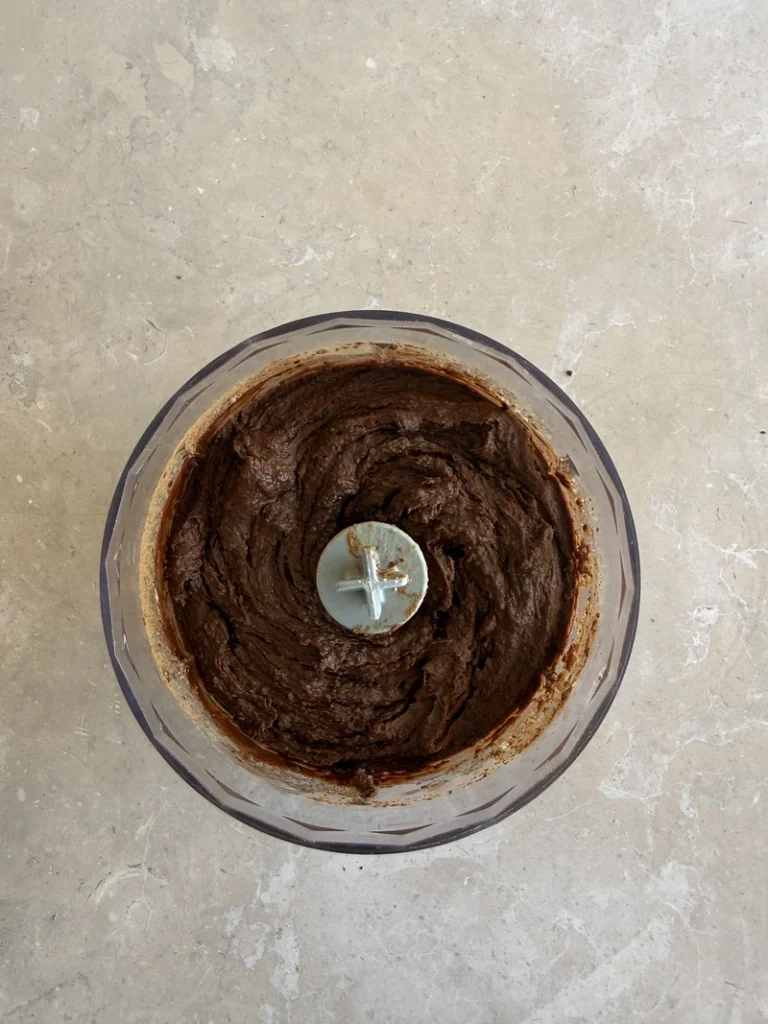
Pour in the melted chocolate and coconut oil, then blend again for a few seconds until the batter is evenly dark, smooth and glossy.
The final batter should be very thick and creamy rather than pourable. If your food processor is struggling, add the remaining soy milk one teaspoon at a time, without exceeding 30 ml in total. Adding too much liquid can leave the brownies wet in the centre even after baking.
Step 7: Transfer the Batter to the Pan
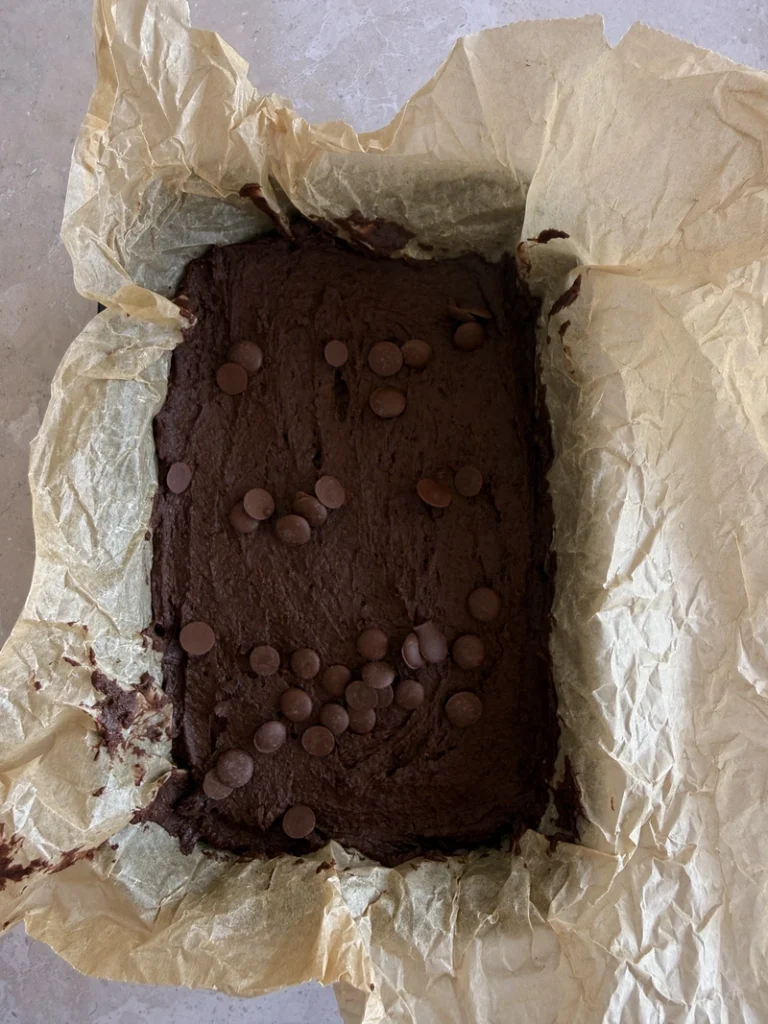
Spoon the batter into the prepared pan and use a spatula to push it into the corners and level the surface.
Because the mixture is thick, it will not spread or even itself out in the oven. Take a moment to distribute it evenly so that the brownies bake at the same rate throughout.
Step 8: Bake Without Overbaking
Bake on the middle shelf for approximately 30–35 minutes, checking from the 30-minute mark.
The brownies are ready when the edges feel set, the surface no longer looks wet and the centre remains slightly soft. A toothpick inserted into the middle should come out with moist crumbs, but not raw batter.
Do not wait for the toothpick to emerge completely clean. These brownies continue to set as they cool, and overbaking them will remove the fudgy texture we worked so hard to create.
Step 9: Let the Brownies Cool Completely
Leave the brownies in the pan for approximately 30 minutes, then lift them out using the baking paper and transfer them to a cooling rack.
Allow them to cool completely for at least two hours before slicing. If you want particularly clean edges, refrigerate them for the final 30 minutes.
This step is not optional: the chocolate and coconut oil need time to firm up, while the starches and moisture inside the brownies need to settle. Cutting them while warm can make even a perfectly baked brownie appear underdone.
How to Serve Vegan Bean Brownies
These vegan bean brownies are rich enough to be served on their own, perhaps with nothing more than a small pinch of flaky salt. However, their deep chocolate flavour also makes them a beautiful base for creams, sauces and fresh fruit.
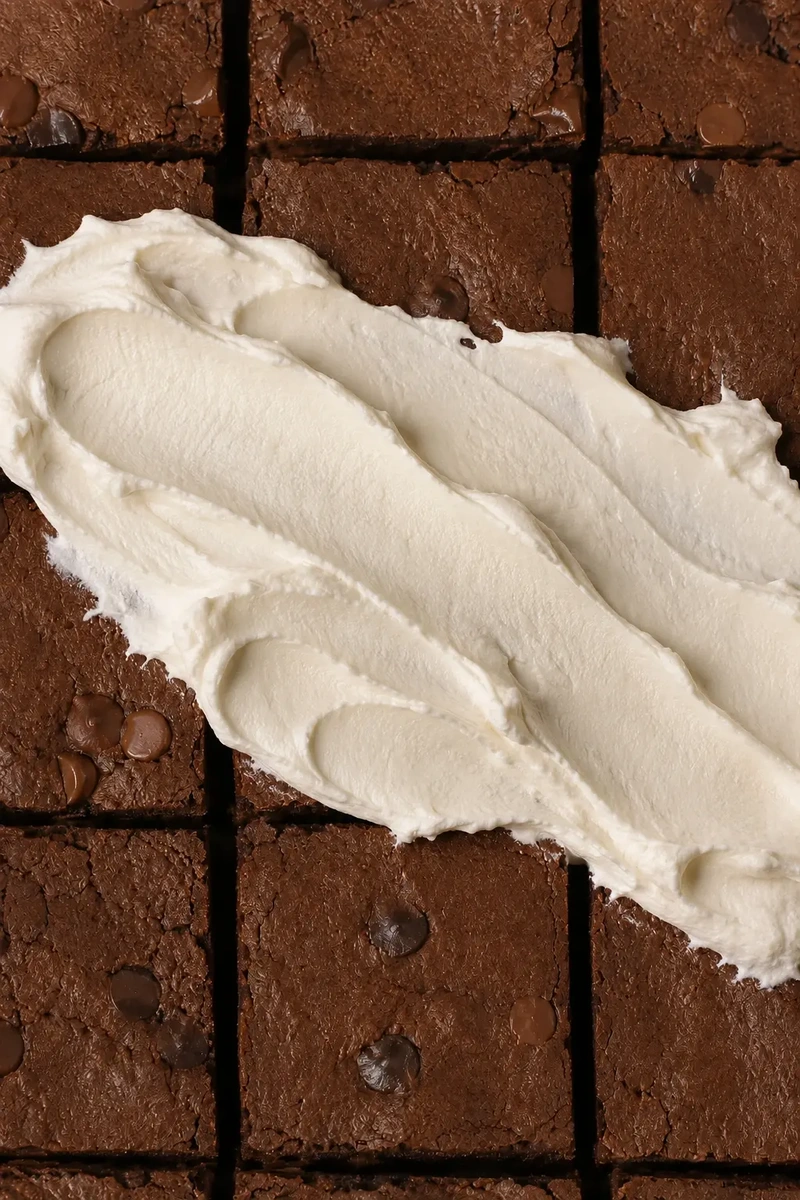
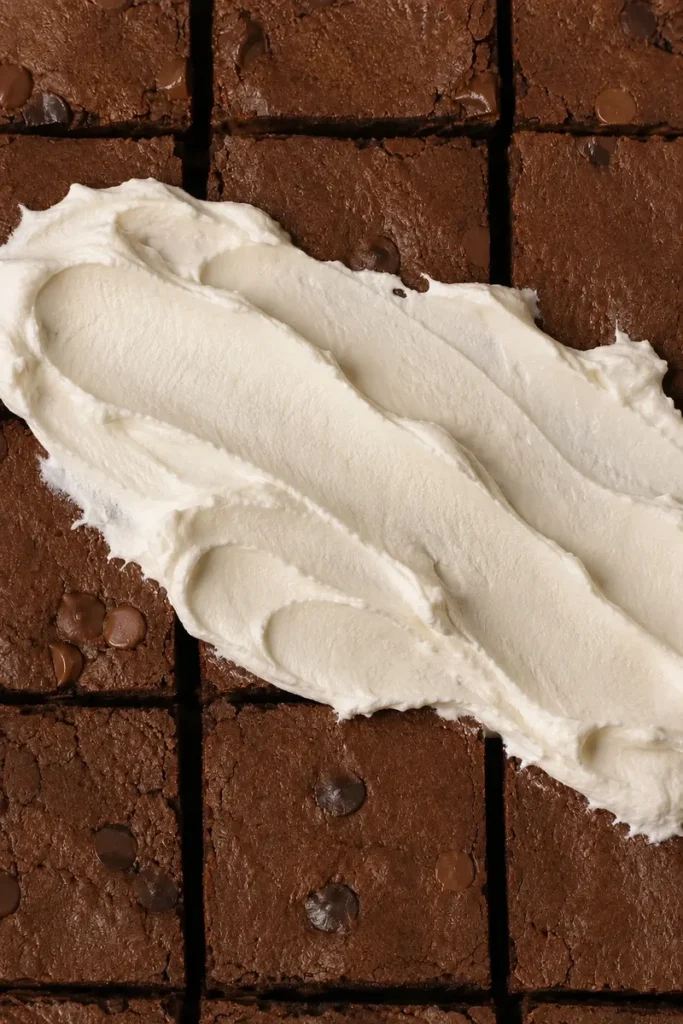
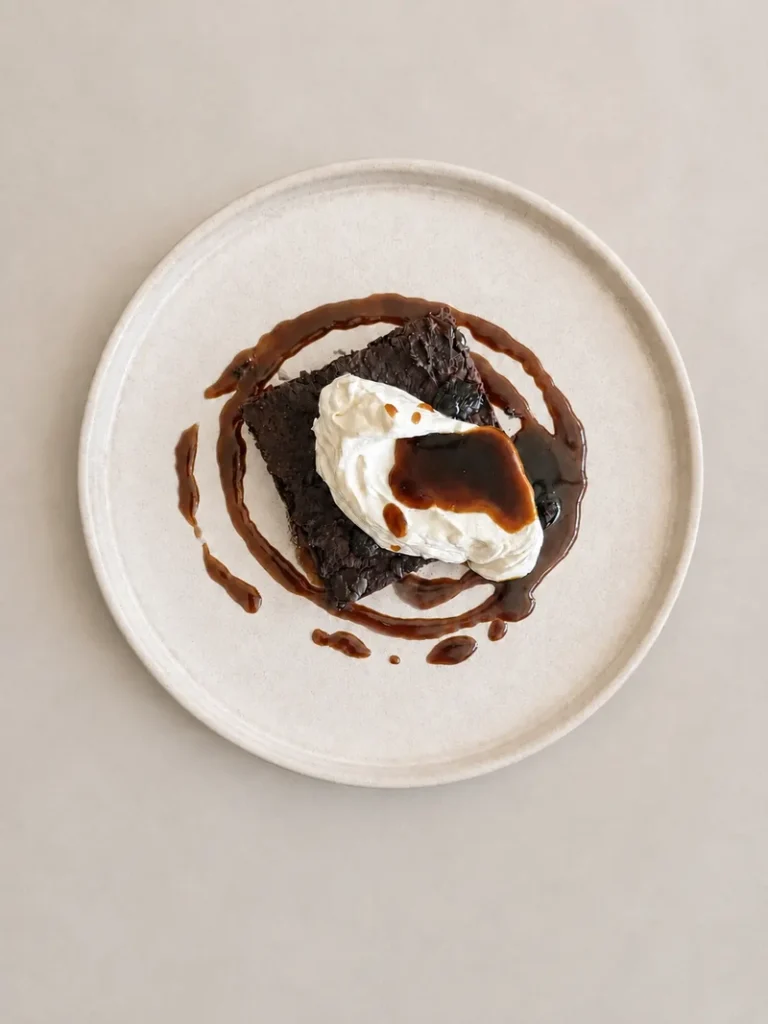
For the complete version shown in my photographs, serve each brownie with a spoonful of whipped coconut cream and pour a warm miso caramel ( i’m going to post the recipe soon) over the top just before eating. The cream softens the intensity of the chocolate, while the miso adds a salty note that makes the caramel taste even deeper.
You can also serve them slightly warm with my vegan crème anglaise. Its delicate vanilla flavour and pourable consistency work particularly well with the dense, fudgy centre of the brownies. For an even more indulgent dessert, add a scoop of vegan vanilla ice cream and serve the crème anglaise warm.
If serving them for breakfast or as a more balanced snack, I would pair one brownie with plain vegan yogurt and fresh berries. The brownies are already made with beans and almond flour, so this turns them into something satisfying without making them feel excessively heavy.
For a true chocolate celebration, serve the brownies with a generous spoonful of my silken tofu chocolate mousse. The mousse is soft, silky and intensely chocolatey, while the brownies are dense and fudgy, so together they create a rich dessert with two very different chocolate textures. It is definitely one for serious chocolate lovers.
How to Store and Freeze Them
Allow the brownies to cool completely before storing them. If they are still warm, condensation will form inside the container and make their surface wet. Keep the brownies in an airtight container in the refrigerator for up to 4–5 days. You can stack them with a small piece of baking paper between each layer to prevent them from sticking together.
For longer storage, freeze the brownies without the toppings. Wrap each portion individually in baking paper and place them in a freezer-safe container or bag. They can be frozen for up to three months.
Defrost them overnight in the refrigerator or leave them at room temperature for approximately one hour. You can enjoy them cold for a firmer, denser texture, or warm them for a few seconds in the microwave if you prefer a softer, fudgier centre.

High-Protein Vegan Bean Brownies (Gluten-Free)
Equipment
Ingredients
- 250 gr Red Kidneys Cooked Beans Any other beans will work
- 80 gr Vegan Dark Chocolate Mine is also Refined Sugar Free
- 45 gr Almond Flour
- 30 gr Coconut Sugar
- 25 gr Unsweetened Cocoa Powder
- 25 gr Maple Syrup
- 15 gr Coconut Oil
- 20 ml Unsweetened Soy Milk Or a bit more if needed
- 1 tsp Vanilla Extract
- ½ tsp Baking Powder Mine is certified Gluten Free
- ¼ tsp Sea Salt
Instructions
- Preheat the oven to 175°C/350°F. Line a 20 × 11 cm loaf pan with baking paper, leaving some overhang on the sides.
- Rinse the cooked beans thoroughly and leave them to drain for 10–15 minutes. Pat them dry if they still appear wet.
- Add the coconut sugar to a food processor and blend briefly until the crystals become finer. Transfer it temporarily to a small bowl.
- Melt the dark chocolate and coconut oil together over a bain-marie or in the microwave in 15–20-second intervals, stirring after each interval. Set aside to cool slightly.
- Add the drained beans, blended coconut sugar, maple syrup, 20 ml of soy milk and vanilla extract to the food processor. Blend until completely smooth, stopping several times to scrape down the sides.
- Add the almond flour, cocoa powder, baking powder and salt. Blend briefly until evenly combined.
- Pour in the melted chocolate and coconut oil. Blend again until the batter is smooth, dark and glossy. It should be very thick but creamy. If necessary, add the remaining soy milk one teaspoon at a time, without exceeding 30 ml in total.
- Transfer the batter to the prepared pan. Use a spatula to spread it evenly into the corners and level the surface.
- Bake on the middle shelf for 30–35 minutes. The edges should be set and a toothpick inserted into the centre should come out with moist crumbs but no raw batter.
- Leave the brownies in the pan for 30 minutes. Lift them out and transfer them to a cooling rack. Allow them to cool completely for at least 2 hours before slicing.
Video
Notes
Original Content Note
This vegan bean brownie recipe is an original INUMAMI recipe, developed and tested by me. The recipe, written content, food styling and photographs featured in this post were created by me. No AI is used to develop or test recipes. All food photographs are original and owned by INUMAMI.Substitutions Note
For ingredient swaps and tested alternatives, see the Ingredients & Substitutions section above the recipe card. Possible substitutions are listed directly beneath each ingredient.Nutrition