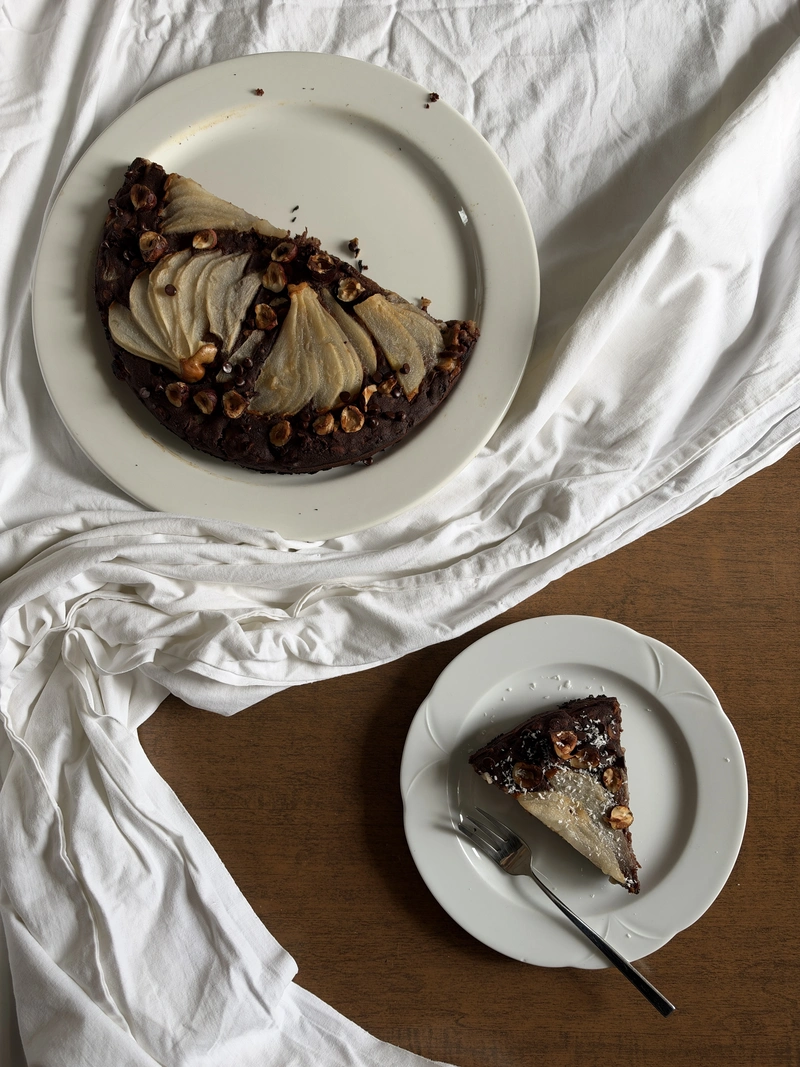
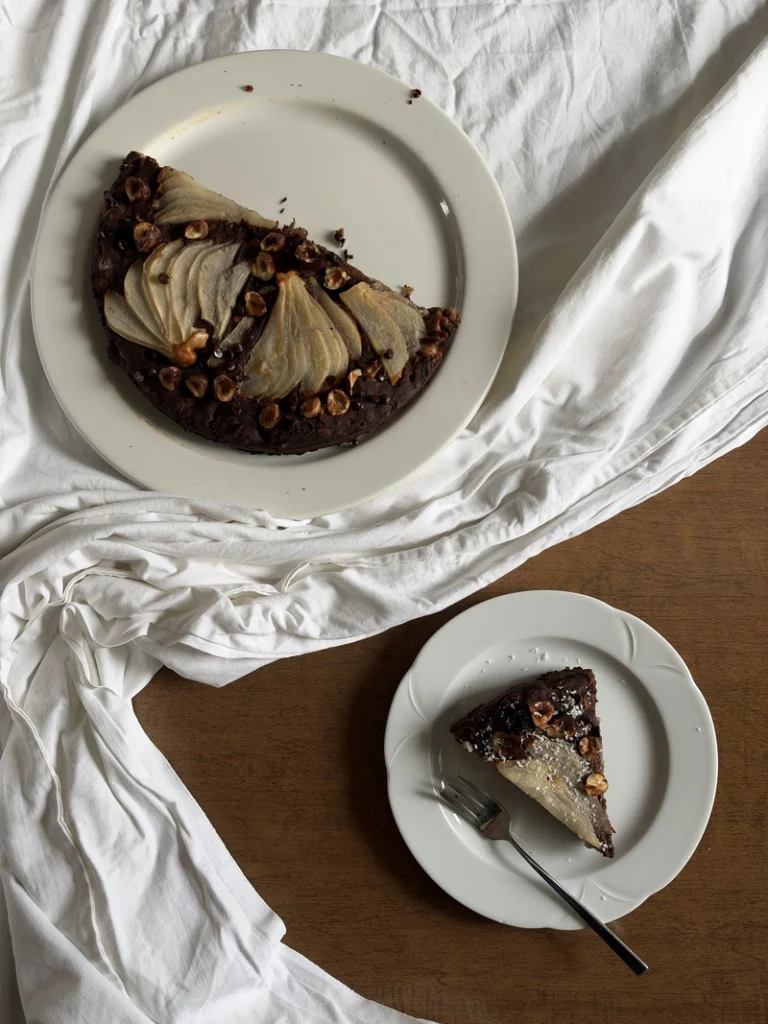
Pear and chocolate are a classic pairing, especially when fall arrives and pears come into season. I recreated this super cosy cake in a completely plant based, gluten free and refined sugar free version.
Mine is topped with hazelnuts, but they are entirely optional, so you can simply leave them out to make the cake nut free too. Because, in the end, good food is food that includes everyone.
If you’re reading this recipe in autumn and you’re in the mood for more seasonal cooking, explore our other fall recipes in the dedicated category.
If you’re as immersed in apple and pear season as I am, give this apple bread a try. It’s the perfect way to welcome the season of cosy autumn breakfasts.
Ingredients for Vegan Chocolate Pear Cake
If you’re in a hurry and want to start baking right away, you can skip the explanations and jump straight to the recipe card at the bottom of the page. Here, though, you’ll also find a few useful tips on ingredient substitutions.
Dry Ingredients
The main flour in this cake is rice flour. I used brown rice flour, but regular white rice flour works just as well. Since I wanted to keep the cake nut free, I skipped the almond flour I often use to add a little more softness and instead added some coarsely ground oats. I actually like the slightly rustic texture the oats give the cake, but if you prefer a smoother crumb, you can blend them into a fine flour or simply use oat flour instead.
For the chocolate base, I used organic unsweetened cocoa powder rather than melted dark chocolate, as the pears already bring plenty of moisture to the cake. If you prefer a richer, more fudgy texture, however, you can add a little melted dark chocolate to the batter.
For the rise, I used gluten free baking powder together with a small amount of baking soda, activated by the apple cider vinegar in the wet ingredients. Finally, I added psyllium husk, which helps give the gluten free batter elasticity, structure and better binding.
Wet Ingredients
For the wet ingredients, I used plant based milk. In my case, I used unsweetened coconut milk simply because that was what I had on hand, but any plant based milk will work. Soy milk is still the one I usually recommend for baking because of its protein content and the structure it gives to cakes.
For the fat, I used grapeseed oil, which is one of my favourites for baking because of its very neutral flavour. To sweeten the cake, I used maple syrup, but there are plenty of alternatives here, including rice syrup or agave. If your pears are nicely ripe, they will already bring quite a bit of natural sweetness to the cake.
I also added vanilla extract and a little orange zest. They make the cake beautifully fragrant without overpowering the flavour of the pear and chocolate.
Aquafaba also counts as part of the wet ingredients, although I whipped it separately before folding it into the batter. I used it because it helps add air and softness to the cake and works as an egg substitute in vegan baking. It is not essential, and the cake will still work without it, but it is a lovely extra if you want a lighter, softer crumb.
Choosing the Pears and Chocolate
Choose ripe pears, as they will be naturally sweeter and will also add more moisture to the cake. For the chocolate, I used dark chocolate with no added sugar because I wanted to keep the cake refined sugar free. Of course, you can use whichever chocolate you prefer, either chocolate chips or a bar chopped into small pieces.
For The Decoration
For the decoration, I used some of the sliced pears, hazelnuts and desiccated coconut. This is completely optional. You can use a different type of nut, or simply leave them out altogether.
The desiccated coconut is optional too. I used it instead of the more traditional dusting of powdered sugar, just to keep the cake refined sugar free.
How to Make Vegan Chocolate Pear Cake
1. Prepare the pears
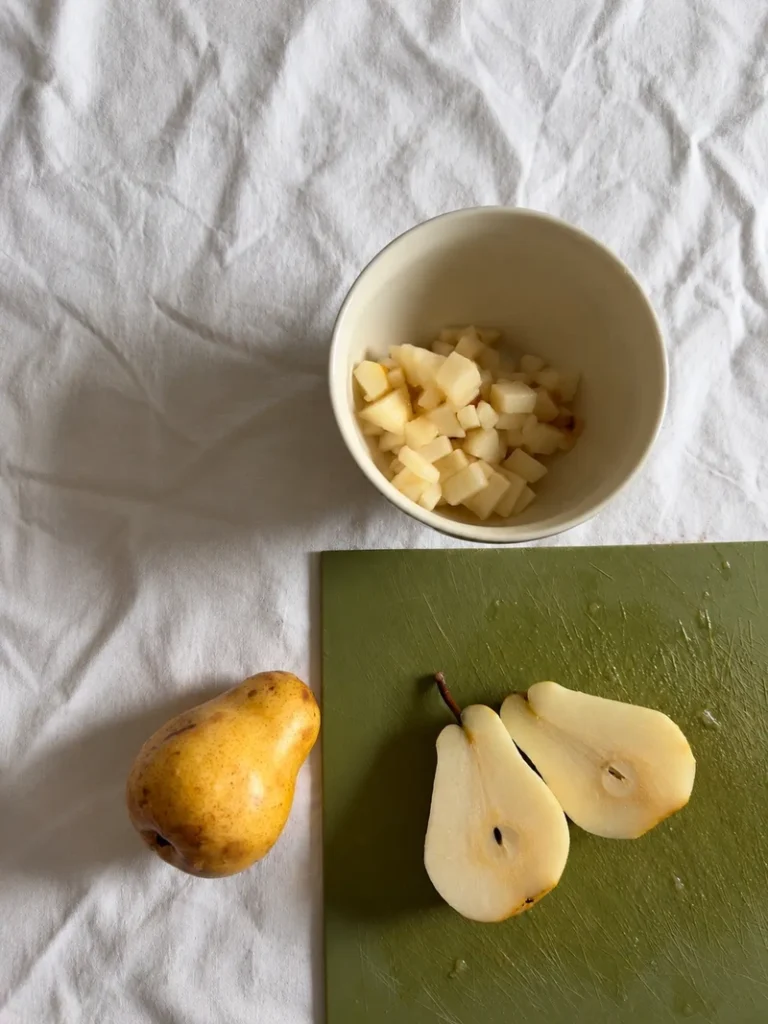
Peel the pears and divide them into two portions. Cut part of them into small cubes to fold into the batter, and slice the rest thinly for the top of the cake. If your pears are particularly juicy, gently pat them dry with kitchen paper before using them.
2. Mix the dry ingredients
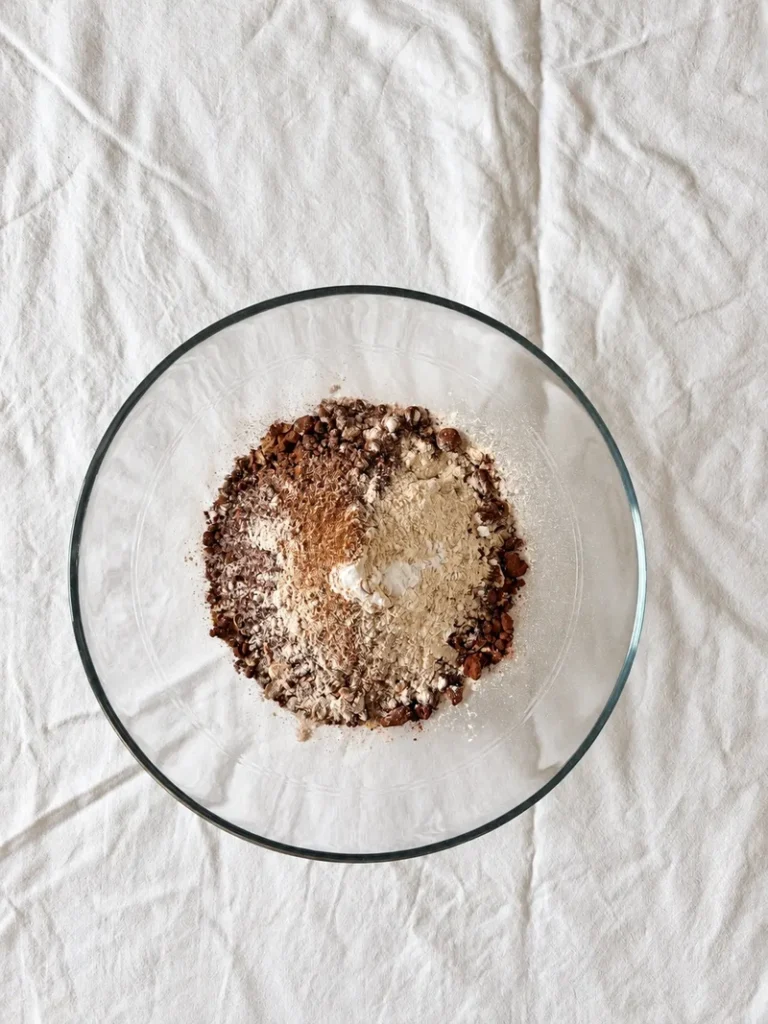
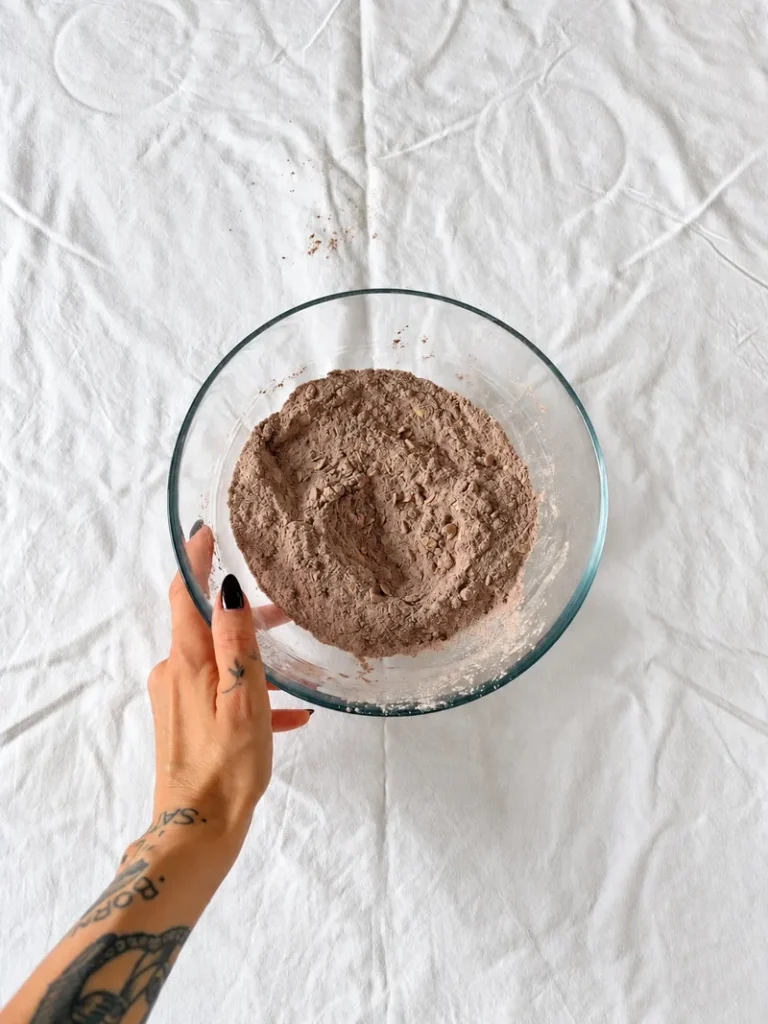
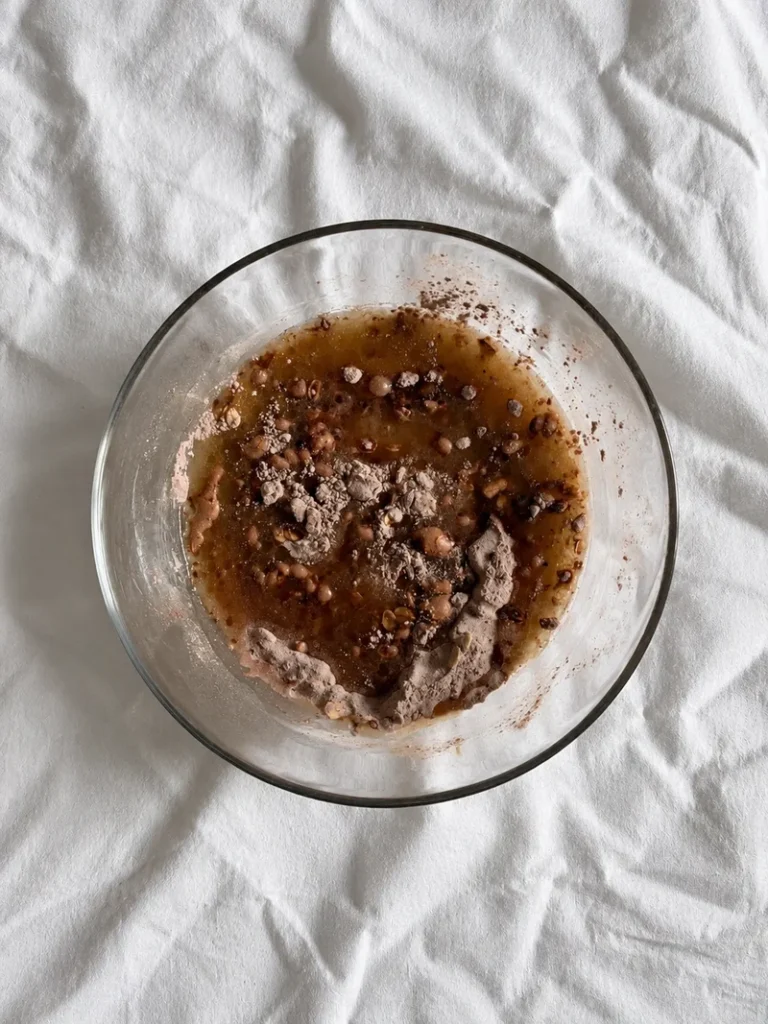
In a large bowl, combine the rice flour, coarsely ground oats, cocoa powder, gluten free baking powder, baking soda, psyllium husk and a pinch of salt. Mix well so that the raising agents and psyllium are evenly distributed.
3. Mix the wet ingredients
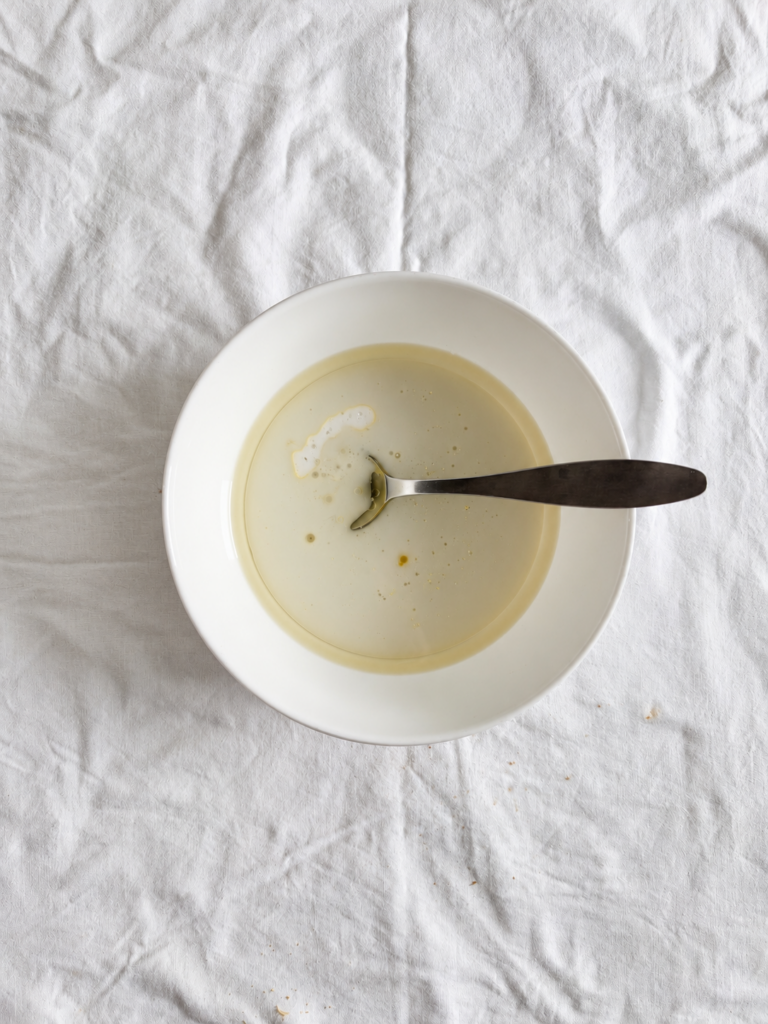
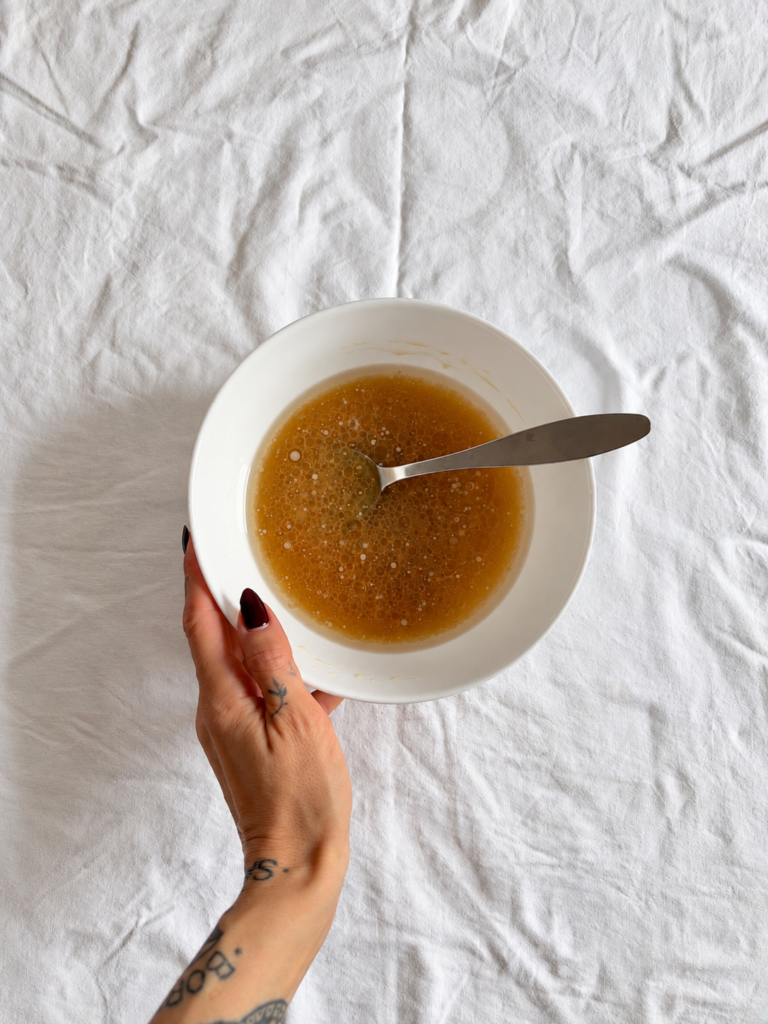
In a separate bowl, combine the plant based milk, maple syrup, grapeseed oil, apple cider vinegar, vanilla extract and orange zest. Whisk briefly until everything is well combined.
4. Make the batter
Pour the wet mixture into the dry ingredients and mix just until you have a smooth batter. Let it sit for a couple of minutes so the oats and psyllium can absorb some of the liquid. The batter should be thick but still soft and easy to spread. If it feels too dry, add a small splash of plant based milk.
5. Add the pears and chocolate
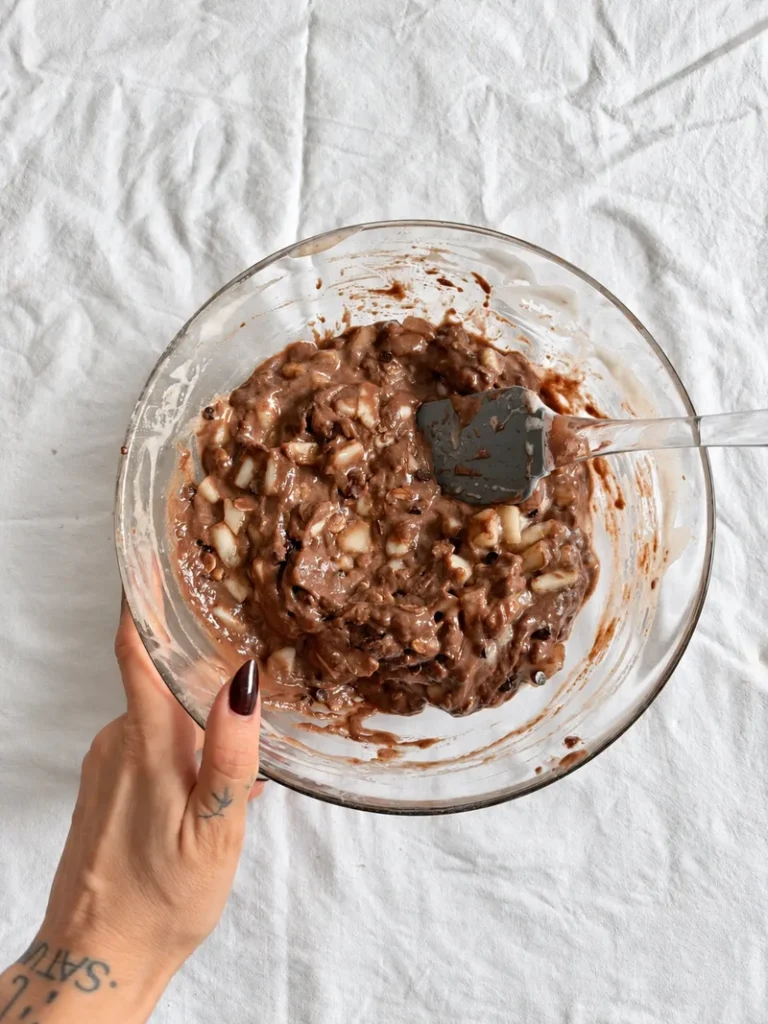
Fold the diced pears and chopped dark chocolate into the batter, mixing only until evenly distributed.
6. Whip the aquafaba
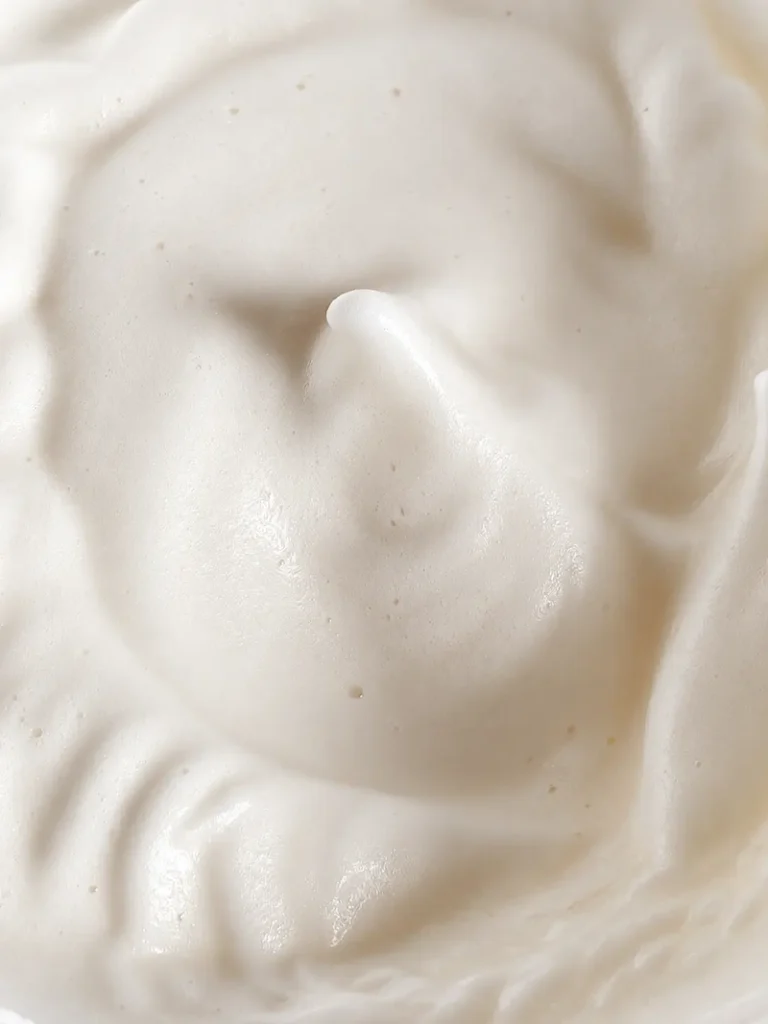
In a clean bowl, whip the aquafaba until light, foamy and able to form soft peaks. It does not need to be as stiff as a meringue.
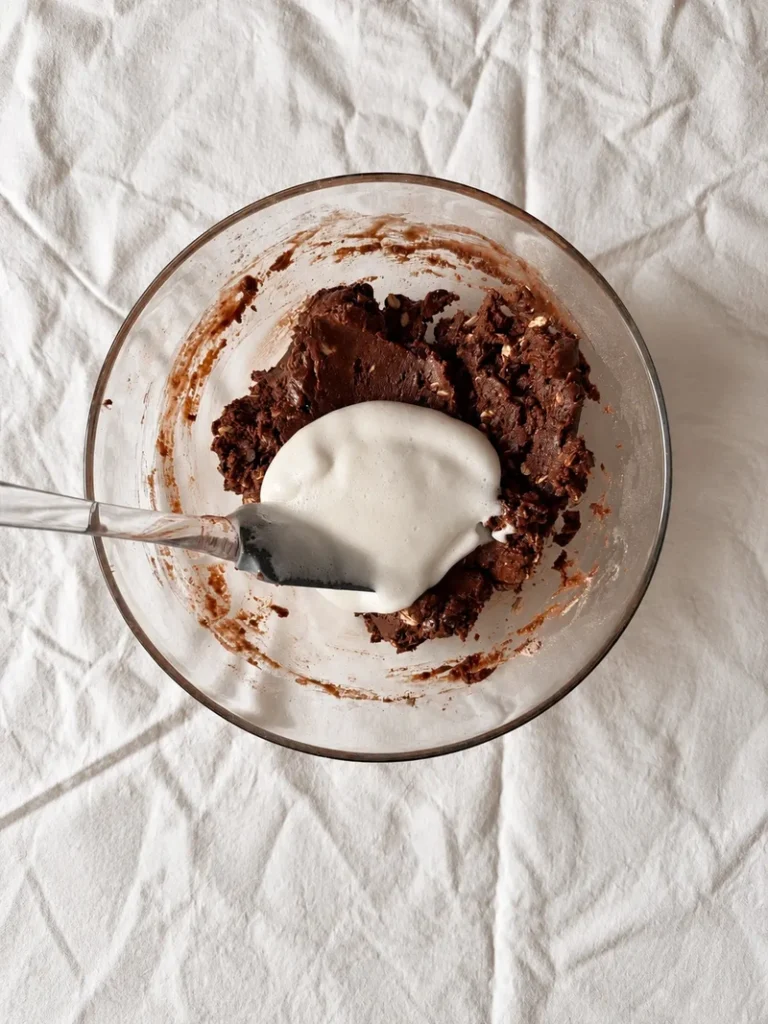
Fold about one third of the whipped aquafaba into the batter first to loosen it slightly. Then gently fold in the rest in two additions, using a spatula and working from the bottom of the bowl upwards so you keep as much air in the mixture as possible.
7. Decorate the cake
Transfer the batter to a lined and lightly greased cake tin and smooth the surface gently. Arrange the sliced pears over the top and add the hazelnuts, if using. Try not to press the pears too deeply into the batter, as they will naturally sink slightly while the cake bakes.
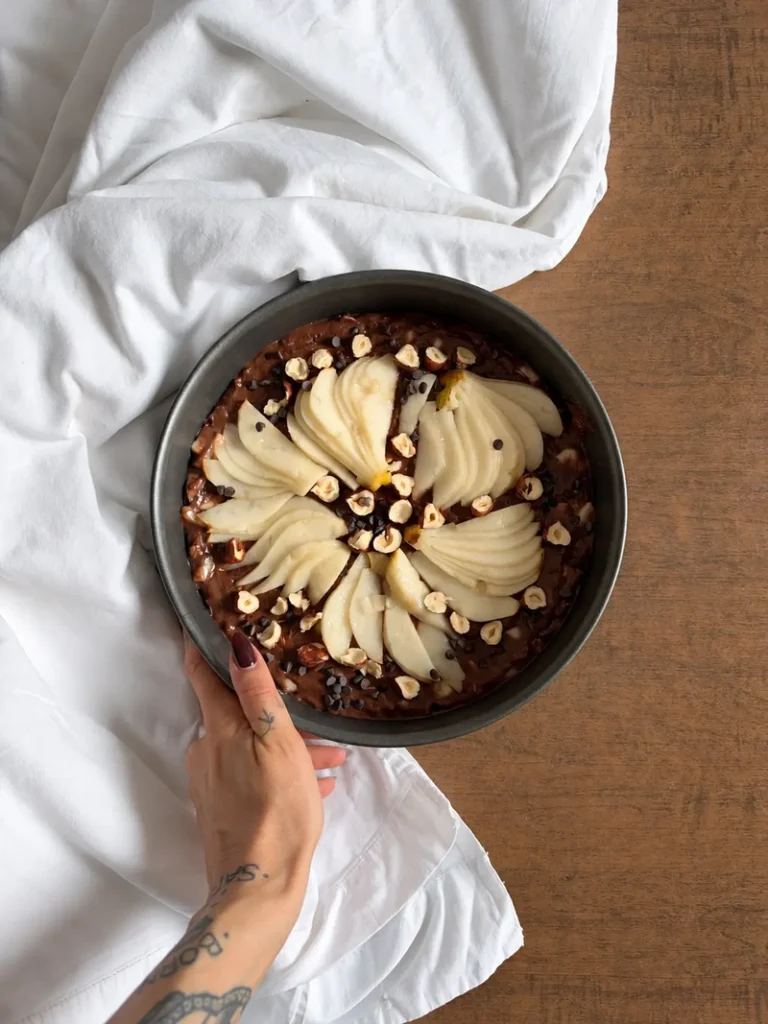
8. Bake
Bake in a preheated static oven at 175°C / 350°F for around 45 to 55 minutes. Avoid opening the oven during the first 35 to 40 minutes, as this can cause the cake to lose some of its rise.
To check if it is ready, insert a skewer into an area without a piece of pear. It should come out without wet batter, although a few moist crumbs are perfectly fine.
9. Cool and finish
Leave the cake in the tin for around 15 to 20 minutes before carefully removing it. Allow it to cool completely before slicing. Once cooled, you can finish it with a little desiccated coconut in place of powdered sugar, or simply leave it as it is.
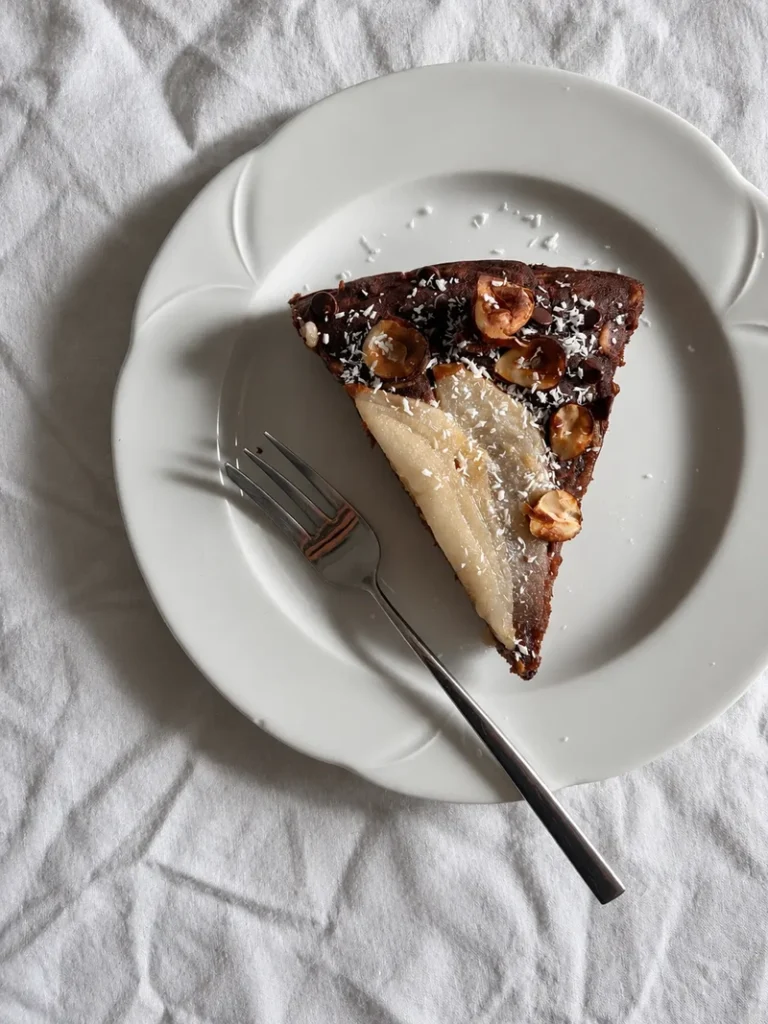
Tips for the Best Chocolate Pear Cake
Watch the batter consistency
Because both oats and psyllium absorb liquid, the batter can thicken quite quickly. It should be thick but still soft and easy to spread. If it feels too dense, add a small splash of plant based milk before folding in the aquafaba.
Do not overmix the aquafaba
Once the whipped aquafaba is added, fold it in gently. The more air you keep in the batter, the lighter the final texture will be.
Bake the cake straight away
Once the wet and dry ingredients are combined, the baking soda and baking powder start working. For the best rise, transfer the batter to the tin, decorate it and bake it without leaving it to sit for too long.
Avoid opening the oven too early
Try not to open the oven during the first 35 to 40 minutes of baking. Opening the door too soon can cause the cake to lose some of its rise, especially in a gluten free batter.
Tips for Serving
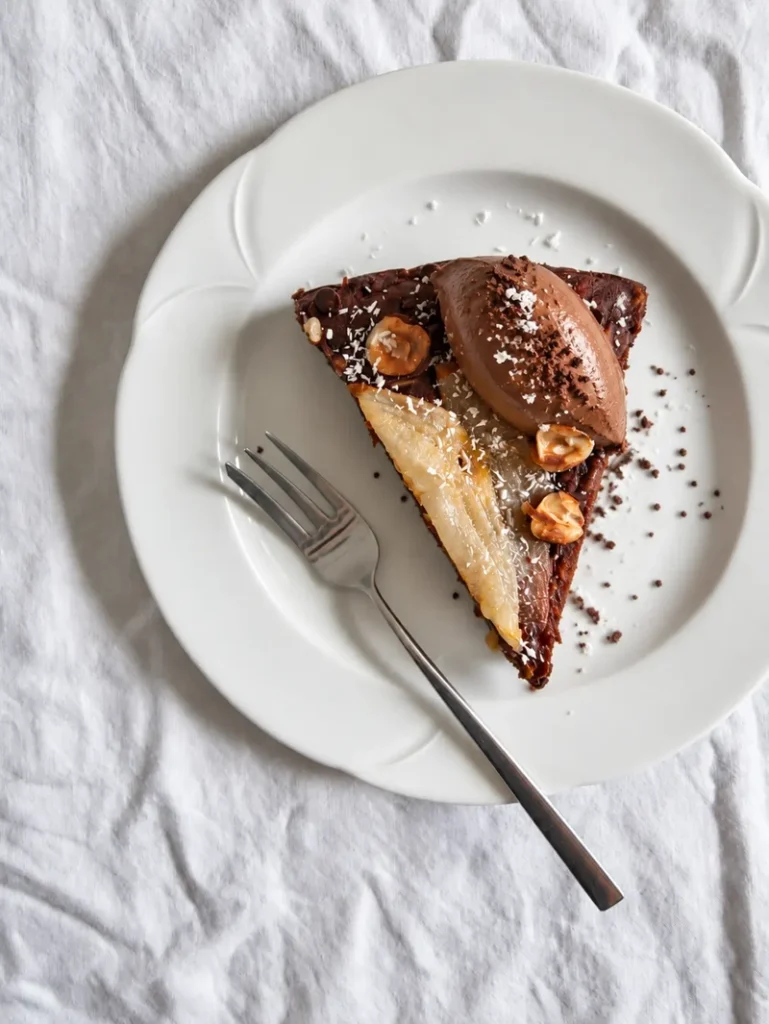
If you want to make this cake even more indulgent, serve it with a quenelle of vegan chocolate mousse on the side. The soft, creamy texture works beautifully with the moist pear and chocolate cake.
Vegan Chocolate Pear Cake (Gluten-Free & Refined Sugar-Free)
Equipment
Ingredients
Dry Ingredients
- 210 gr Rice Flour
- 45 grams Rolled oats
- 30 grams Unsweetened Cocoa Powder
- 12 grams Gluten free baking powder
- 1.5 grams Baking Soda
- 6 grams Psyllium husk (Approximately 2 level teaspoons)
- 1 pinch Sea Salt
Dry Ingredients
- 95 grams Unsweetened Soy Milk
- 135 grams Maple Syrup
- 65 grams Grapeseed Oil
- 1½ tsp Apple Cider Vinegar
- 1 tsp Vanilla Extract
- 90 grams Aquafaba
- 1 Zest Orange
Pears & Chocolate
- 4 Pears
- 80 grams Vegan Dark Chocolate
Toppings
- As Needed Chopped hazelnuts
- As Needed Desiccated coconut
- As Needed Sliced pear
Instructions
- Preheat the oven to 175°C / 350°F. Line the bottom of a 22 cm round cake tin with baking paper and lightly grease the sides.
- Prepare the pears. Cut approximately half of the pears into small cubes for the batter and slice the remaining pears thinly for the top of the cake.
- In a large bowl, combine the rice flour, ground oats, cocoa powder, baking powder, baking soda, psyllium husk and salt.
- In a separate bowl, whisk together the maple syrup, grapeseed oil, plant based milk, apple cider vinegar, vanilla and orange zest.
- Pour the wet ingredients into the dry ingredients and mix until just combined. Leave the batter to rest for about 2 minutes so the oats and psyllium can absorb some of the liquid.
- Fold in the diced pears and chopped dark chocolate.
- In a clean bowl, whip the aquafaba until light and foamy and soft peaks begin to form.
- Fold about one third of the whipped aquafaba into the batter to loosen it. Gently fold in the remaining aquafaba in two additions, using a spatula and working from the bottom upwards.
- Transfer the batter immediately to the prepared cake tin and gently smooth the surface.
- Arrange the sliced pears over the top and add the chopped hazelnuts, if using.
- Bake for 45 to 55 minutes. Avoid opening the oven during the first 35 to 40 minutes.
- Leave the cake in the tin for 15 to 20 minutes, then carefully remove it and allow it to cool completely.
- Once cooled, finish with a light sprinkle of desiccated coconut in place of powdered sugar, if desired.
Notes
Storage
Once completely cool, store the cake in an airtight container in the refrigerator for up to 3 to 4 days. For the best texture, let individual slices come back to room temperature before serving.Substitutions
For ingredient swaps and alternative options, see the Ingredients section in the article above the recipe card, where I explain the possible substitutions for the main ingredients.Cake Tin
This recipe is designed for a 22 cm / approximately 9 inch round cake tin. Using a significantly larger tin will result in a thinner cake and may also reduce the baking time.Original Content Note
All recipes published on INUMAMI are original and developed from my personal cooking experience. The recipe, written content, styling and photographs featured in this post were created by me. No AI is used to create or test recipes. All food photographs are original and owned by INUMAMI.Nutrition