This article contains affiliate links. If you purchase through them, INUMAMI may earn a small commission at no extra cost to you. We only recommend what we genuinely use and trust and your support means the world to us.
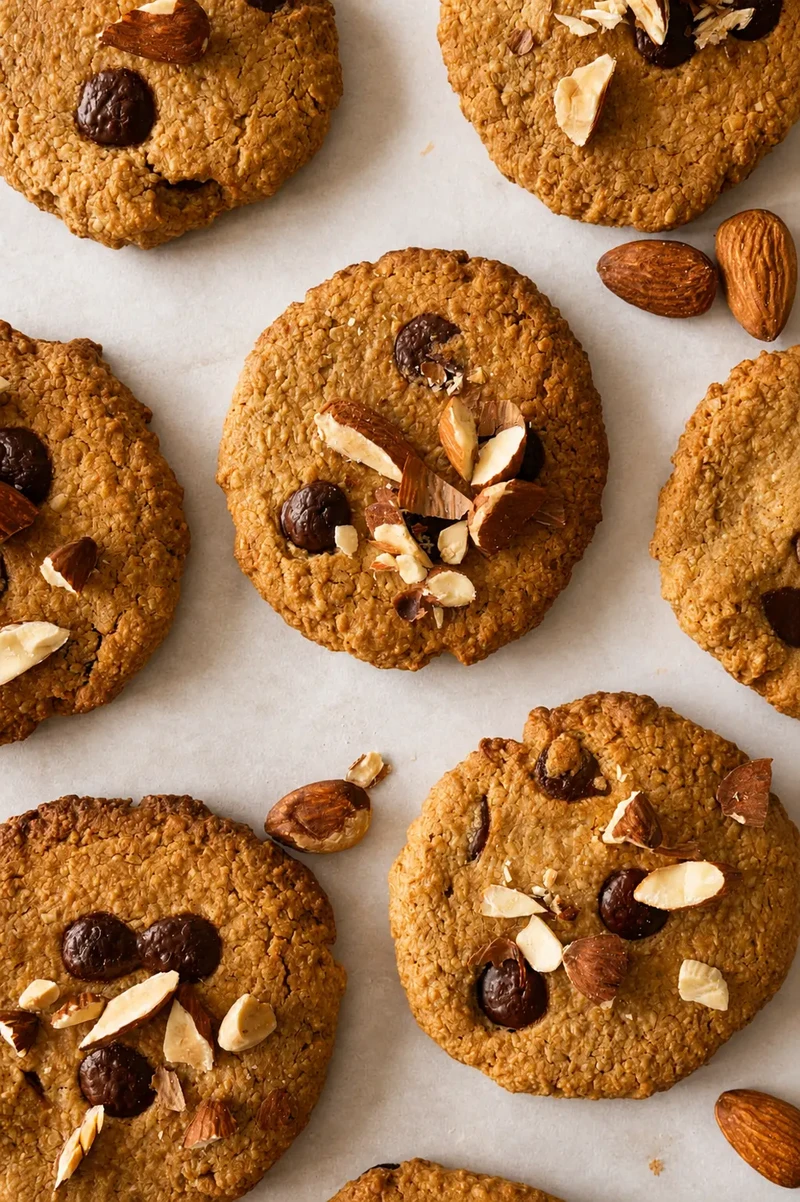
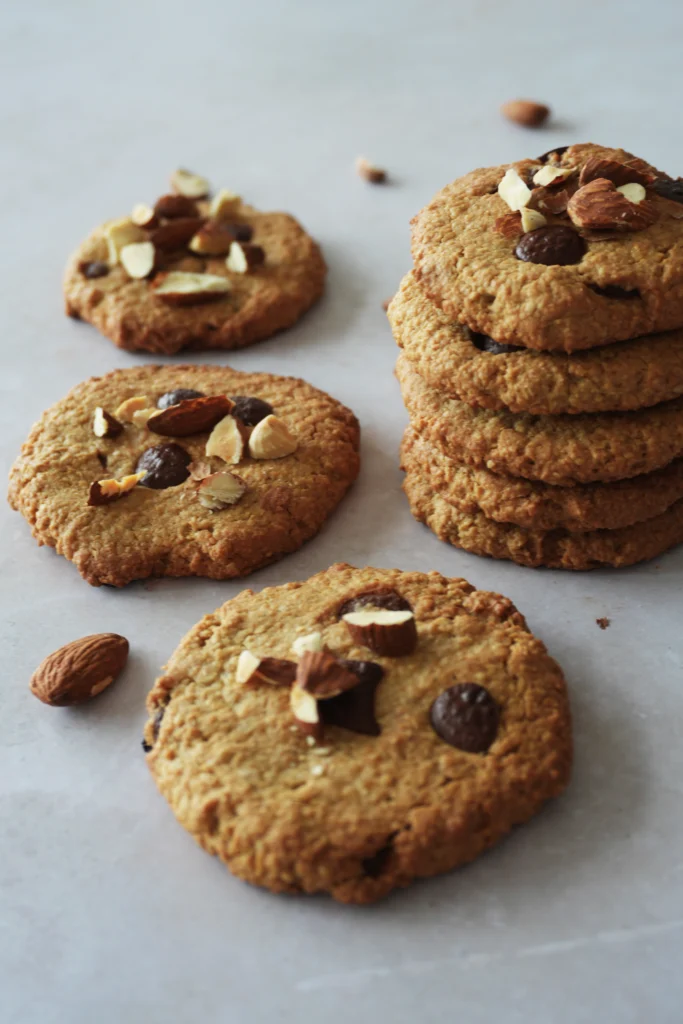
Vegan oat cookies are often seen as simple, almost basic, but getting them right is all about balance. Too dry, and they lose their softness. Too soft, and they don’t hold their shape. The difference lies in how the ingredients come together, and how the texture is built from the inside.
This recipe is designed to give you control. A base that is naturally balanced, easy to work with, and adaptable depending on what you want to create, whether that’s a softer cookie, a chewier bite, or something slightly more crisp. Think of it as a foundation. Once you understand how it works, you can adjust and customize it to create different variations, adding ingredients, changing textures, or shaping it around your preferences.
If you prefer your cookies a little richer and more buttery, try my eggless chocolate chip cookies. They have a softer, more decadent texture and are packed with dark chocolate.
In this recipe, you’ll learn how to make vegan oat cookies that are consistent, satisfying, easy to adjust and gluten free. More importantly, you’ll understand how small changes in ingredients and method can transform the final result.
How to Make Vegan Oat Cookies
Making vegan oat cookies is simple, and incredibly satisfying. Once you understand the base, you can start playing with flavors and create endless variations. The key is understanding how oats behave in the dough, how long to bake the cookies, and how to balance the proportions to achieve the right texture.
For this recipe, my goal was to recreate a texture as close as possible to classic store-bought cookies, while keeping them refined sugar-free, fully plant-based, gluten free and as balanced as possible, without compromising on flavor.
The full recipe, with precise measurements and detailed instructions, can be found in the recipe card below. What follows is a step-by-step guide to help you understand how the dough comes together and how to control the final texture.
For this recipe, I chose to use gluten-free oat flour rather than whole oats. This creates a smoother, more uniform dough that is easier to shape and gives you more control over the final result. If you don’t have oat flour, you can simply blend rolled oats until they turn into a fine flour. Alternatively, you can refer to the substitutions or variations section below for other options.
Step 1: Combine the dry ingredients
In a bowl, mix together the oat flour, a pinch of salt, one teaspoon of potato starch (or tapioca starch), a pinch of cinnamon, and coconut sugar. Stir until everything is evenly combined.
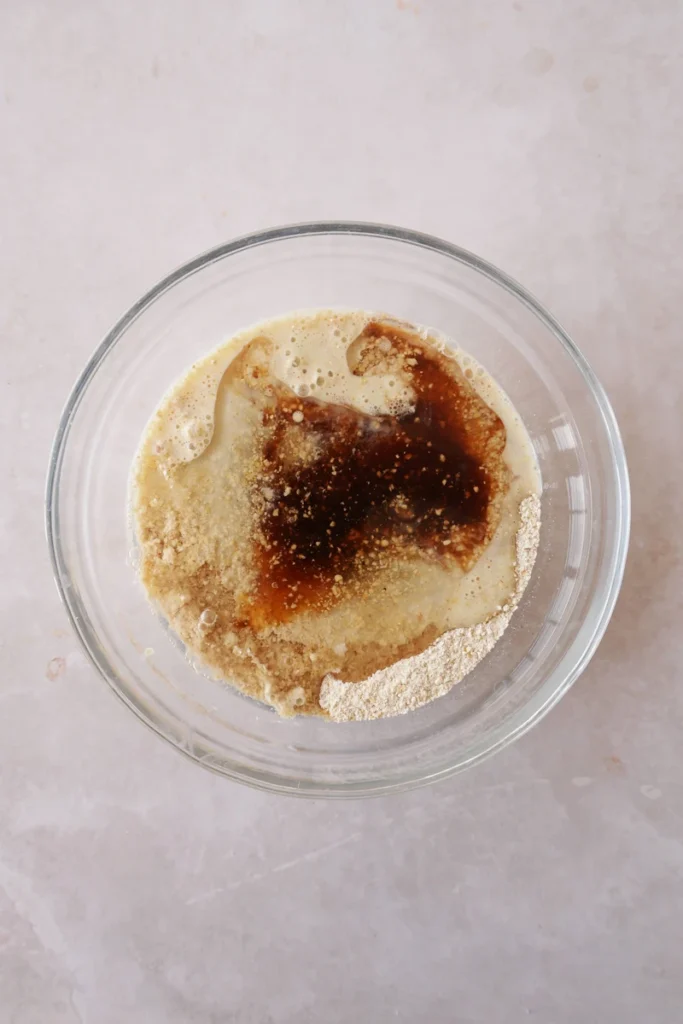
Step 2: Pour the wet ingredients
Pour the plant-based milk, the maple syrup and the melted coconut oil. Make sure the coconut oil has cooled slightly before mixing, so it blends smoothly with the other ingredients.
Step 3: Bring everything together
Pour the wet ingredients into the dry mixture and stir until a soft, cohesive dough forms.
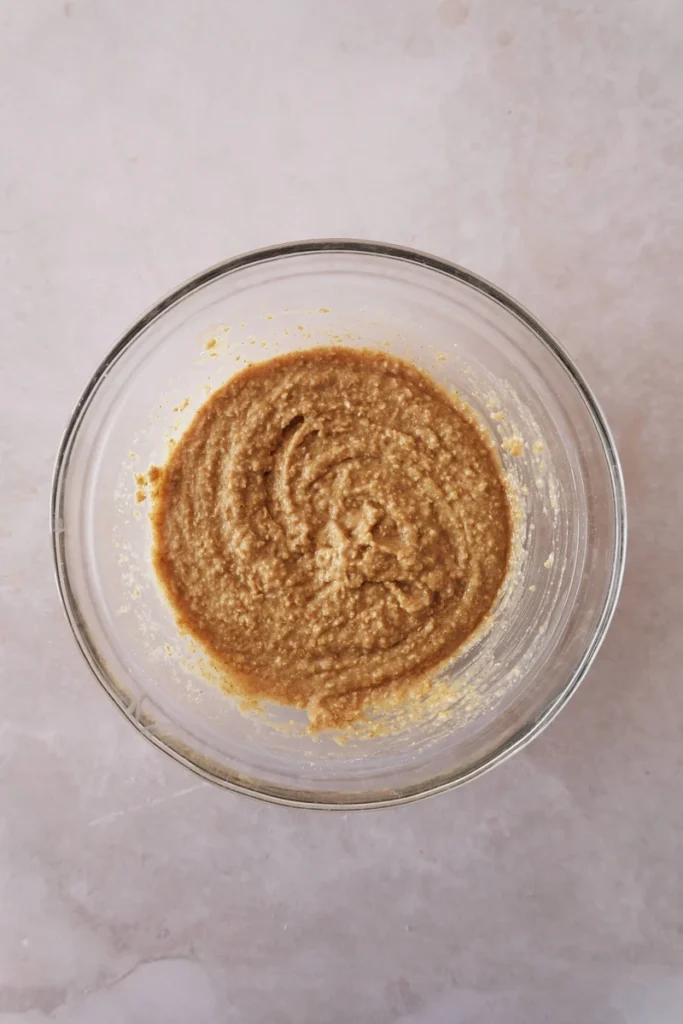
Step 4: Let the dough rest
Let the dough rest for about 10 minutes. This step is important, as it allows the oat flour to absorb the liquids and improves the final texture.
Step 5: Customize the dough
At this stage, you can keep the dough simple or add ingredients such as chocolate chips, raisins, chopped dates, or nuts. This is where you can adjust the flavor and texture depending on your preference (see the variations section below).
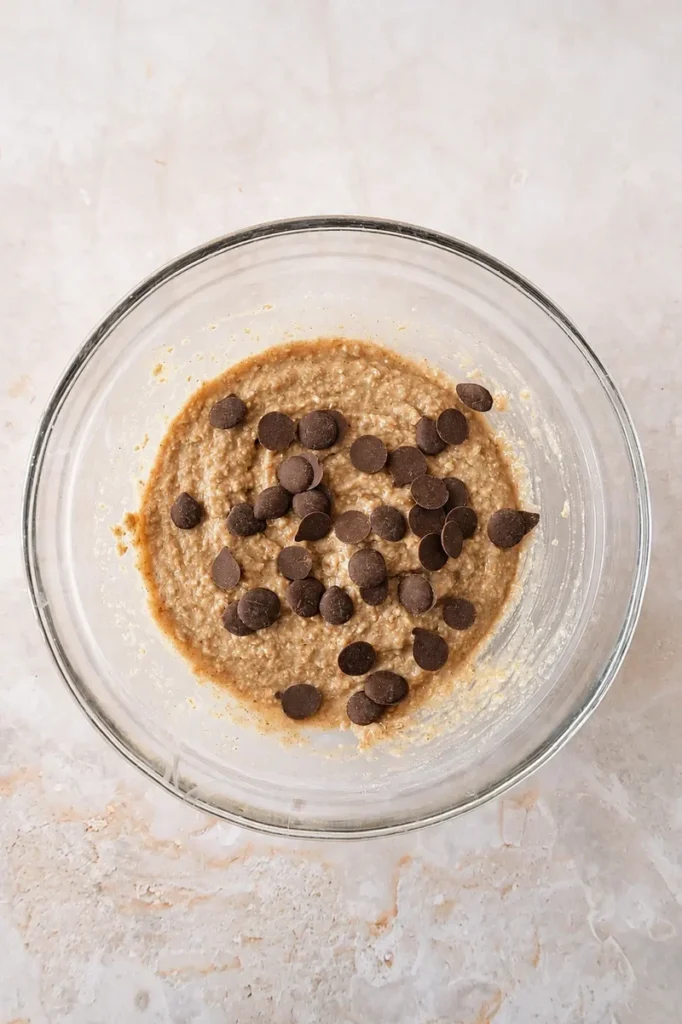
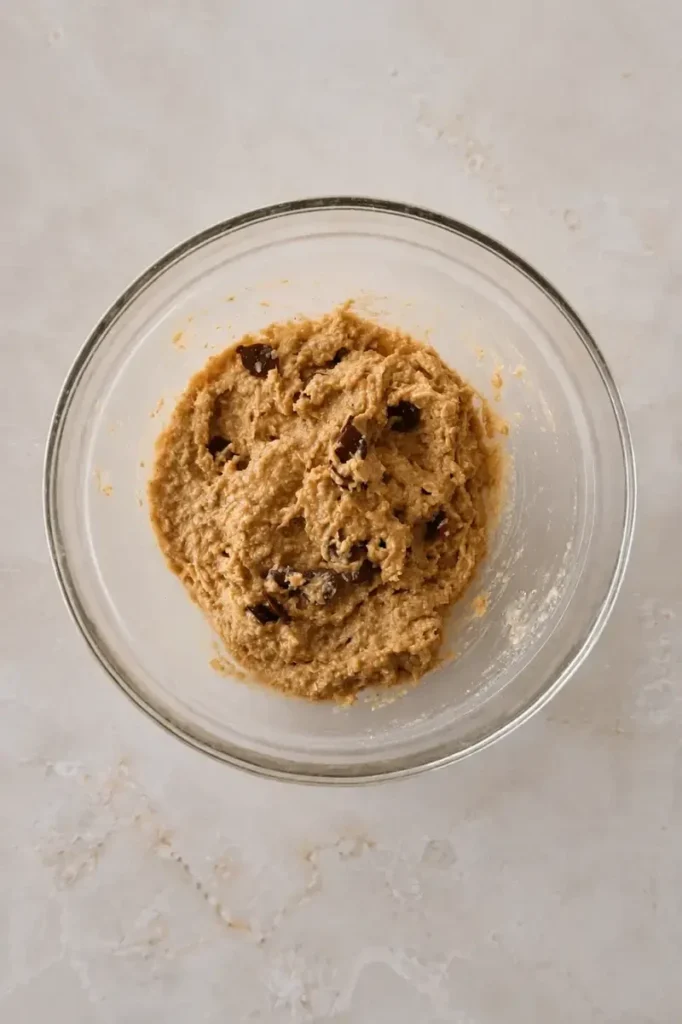
Step 6: Shape and bake
Form small balls and place them on a baking tray lined with parchment paper or a silicone baking mat. Gently flatten them, then bake in a preheated oven at 180°C (350°F) for 10–13 minutes, depending on the texture you prefer, shorter for softer cookies, slightly longer for a drier, more set result.
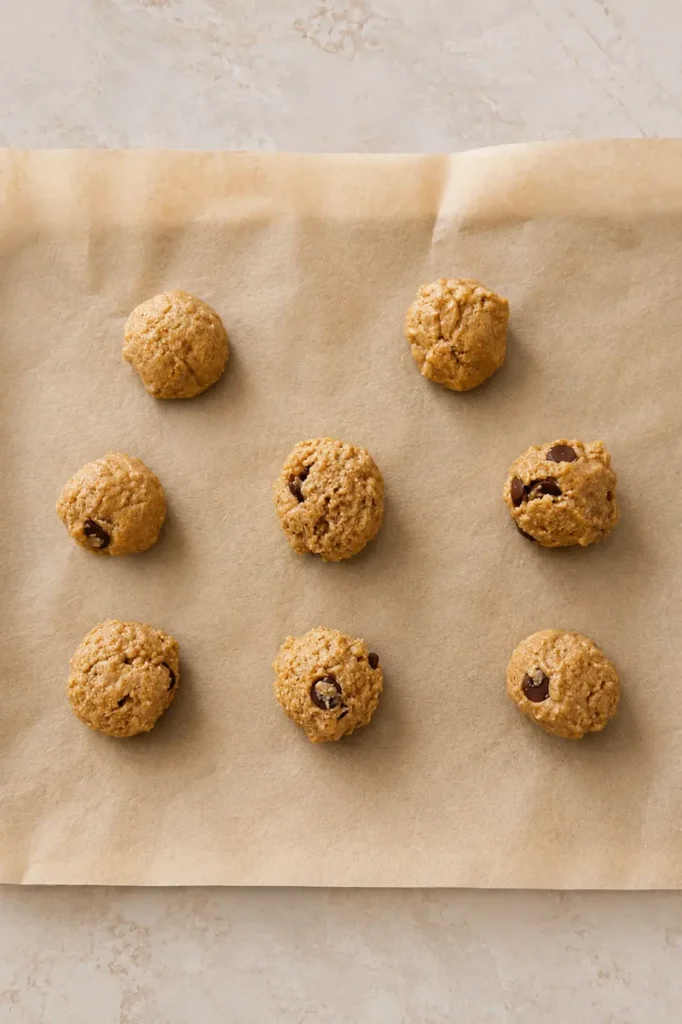

Step 7: Let them cool
Once baked, transfer the cookies to a wire rack and let them cool completely. This helps them set and develop their final texture. If you don’t have a rack, you can simply leave them on parchment paper, they will still firm up as they cool.
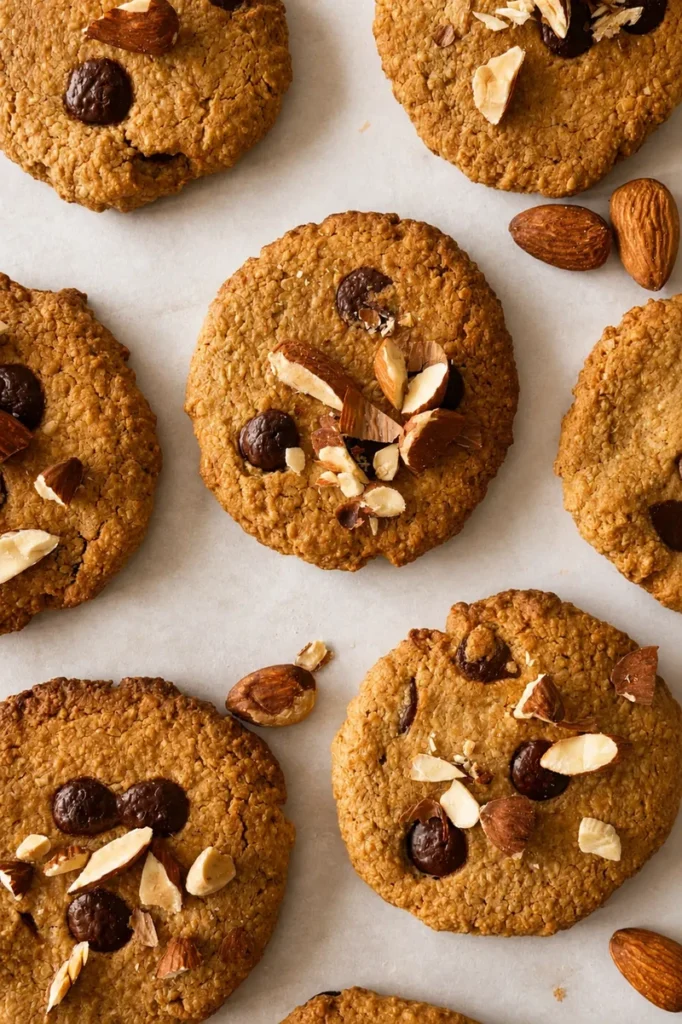
Vegan Oat Cookie Variations (Raisin, Chocolate Chip & More)
Once you understand the base, these vegan oat cookies become incredibly versatile. By adding a few simple ingredients, you can create different variations.
Oat and raisin cookies
Add a handful of raisins to the dough for a naturally sweet and slightly chewy variation. This is one of the most classic combinations and works especially well with the oat base.
Chocolate chip oat cookies
Stir in chocolate chips for a richer, more indulgent version. The contrast between the soft cookie and the melted chocolate adds depth and texture.
Peanut butter oat cookies
Add a spoonful of peanut butter to the wet ingredients to create a slightly denser and more flavorful cookie with a subtle nutty taste. Keep in mind that this will change the texture of the dough, making it thicker and slightly heavier. If needed, you can add a small amount of plant-based milk to loosen the mixture and keep it soft and easy to shape.
Date oat cookies
My favourite! Add chopped dates for a deeper, more caramel-like sweetness. This pairs well with the natural flavour of oats.
Nutty oat cookies
Fold in chopped nuts such as walnuts, almonds, raw pistachio, for added texture and a more structured bite.
Vegan Oat Cookie Substitutions (Flour, Natural Sweeteners & More)
This recipe is designed to be simple and adaptable. Here are the most useful substitutions that you might want to consider.
- If you don’t have oat flour
You can easily make it by blending rolled oats in a blender until they turn into a fine flour. This is the closest alternative and will give you the same result.
- If you want to use whole oats instead
The best approach is to use a combination of oat flour and rolled oats. A good proportion is about 70% oat flour and 30% whole oats, which keeps the structure stable while adding texture. Keep in mind that the dough will be slightly more rustic.
- If you don’t have maple syrup
You can replace it with refined sugar if you prefer a more neutral flavour and lighter color. If you want to keep the recipe refined sugar-free, you can use another liquid sweeteners such agave syrup or date syrup. - If you want to avoid coconut oil
You can replace it with another neutral oil, such as sunflower oil or grapeseed oil, which works particularly well and keeps the texture light.
- If you want a softer cookie
Add a small amount of extra plant-based milk to the dough to increase moisture and create a more tender result.
Understanding Texture in Vegan Oat Cookies
Texture is what defines a good oat cookie. Small changes in ingredients and baking time can completely transform the result, from soft and tender to more structured and slightly crisp. Crispness and softness create two completely different sensations. Have you ever woken up in the morning craving something super crunchy? Or found yourself in the afternoon wanting something soft and comforting, something that almost melts in your mouth without much effort? This is not random. It’s how our sensory perception works: texture influences not only how we experience food, but also what we crave in different moments.
And this is exactly why texture matters just as much as flavor. Understanding how each element behaves allows you to adjust the recipe of your oat cookies depending on what you’re looking for.
For softer cookies
Increase the moisture slightly by adding a bit more plant-based milk or reducing the baking time ( from 9 to 11 minutes max in the oven ). The center will remain more tender and delicate.
For chewier cookies
Keep a balanced ratio of fat and moisture, and avoid overbaking. A slightly shorter baking time helps preserve a softer, more elastic texture ( 9 minutes in the oven )
For more structured or crisp cookies
Bake a little longer or reduce the liquid slightly. This allows the edges to set more firmly and creates a drier, more defined texture.
The role of fat
Ingredients like coconut oil help create softness and richness. More fat generally leads to a softer cookie, while less fat results in a firmer structure.
The role of sugar
Sweeteners affect not only flavor but also texture. Coconut sugar, for example, creates a slightly denser and more caramel-like result. Liquid sweeteners such as maple syrup or date syrup, on the other hand, tend to create a softer and more moist texture, as they add extra liquid to the dough. This can make the cookies more tender, but may require slight adjustments to maintain the right structure.
These adjustments don’t have to be exact. In the recipe card below, you’ll find the precise measurements for the base cookies. But when it comes to the variations, you can start experimenting, adjusting small elements little by little to see how they affect the final result.
The most important step is to first understand the oat cookies base recipe. Once you’re familiar with how it works, it becomes much easier to adapt it and manage the variations with confidence.
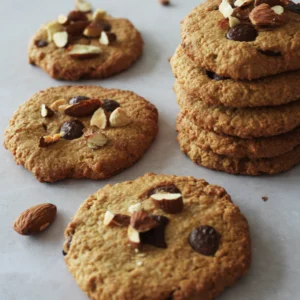
Vegan Oat Cookies
Equipment
Ingredients
- 1 ½ cup Oat Flour
- ½ tbsp Baking Soda
- 1 tbsp Potato Starch Alternative: Tapioca Starch
- 1 pinch Salt
- 3 tbsp Vegan Milk You can use any Vegan milk such as Oat, Soy, Almond.
- 3 tbsp Maple Syrup Alternative: Date Syrup or Agave Syrup
- 1 pinch Cinnamon
- 1 tbsp Vanilla Extract Optional
- 3 tbsp Coconut Oil, Melted
- 1/3 cup Vegan Chocolate Chips
Instructions
- In a bowl, mix together the oat flour, a pinch of salt, one tbsp of potato starch (or tapioca starch), a pinch of cinnamon.
- Pour the the plant-based milk, the maple syrup and the melted coconut oil. Make sure the coconut oil has cooled slightly before mixing, so it blends smoothly with the other ingredients.
- Let the dough rest for about 10 minutes. This step is important, as it allows the oat flour to absorb the liquids and improves the final texture.
- At this stage, you can keep the dough simple or add ingredients such as chocolate chips, raisins, chopped dates, or nuts. This is where you can adjust the flavor and texture depending on your preference (see the variations section below).
- Form small balls and place them on a baking tray lined with parchment paper or a silicone baking mat. Gently flatten them, then bake in a preheated oven at 180°C (350°F) for 10–13 minutes.
- Once baked, transfer the cookies to a wire rack and let them cool completely. This helps them set and develop their final texture.
Notes
Nutrition