This article contains affiliate links. If you purchase through them, INUMAMI may earn a small commission at no extra cost to you. We only recommend what we genuinely use and trust and your support means the world to us.
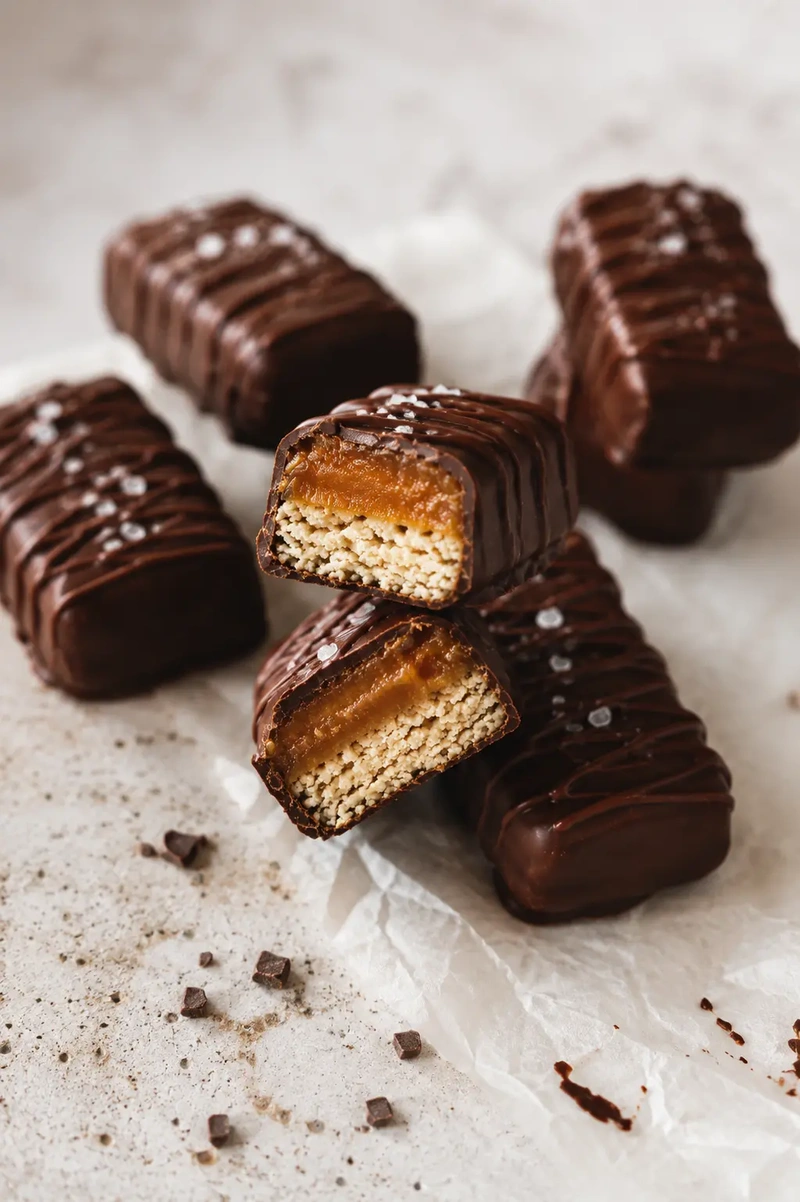
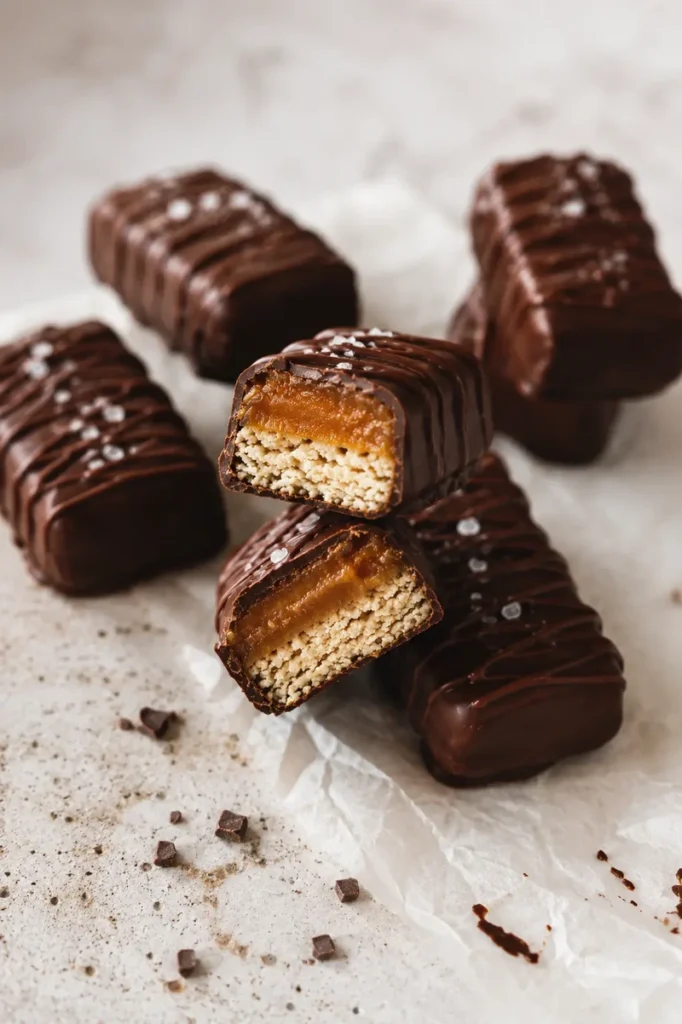
Yes, these vegan Twix-style bars are made with dates, but don’t let that fool you: the filling tastes like salted caramel. Sweet, soft, slightly salty, and deeply satisfying, it creates that classic contrast with the crunchy base and chocolate coating.
This is a healthier homemade alternative to commercial bars, made with simple plant-based ingredients and without refined sugar. They are vegan, gluten-free, refined sugar-free, and surprisingly easy to make, the kind of sweet snack that feels indulgent, but still thoughtful and balanced.
In this recipe, you will learn how to make easy vegan Twix-style bars with a naturally sweet date sauce that tastes like salted caramel. You will also learn how to create a firm gluten-free base, how to balance the sweetness with a touch of salt, and how to coat the bars in chocolate for a smooth, satisfying finish.
Ingredients You Need to Make Vegan Twix Bars
These vegan Twix bars are built in three simple layers: a firm gluten-free base, a soft date filling that tastes like salted caramel, and a smooth dark chocolate coating. Each layer is made with simple plant-based ingredients, but together they create the contrast that makes this recipe so satisfying: crunchy, creamy, sweet, salty, and rich.
The Base
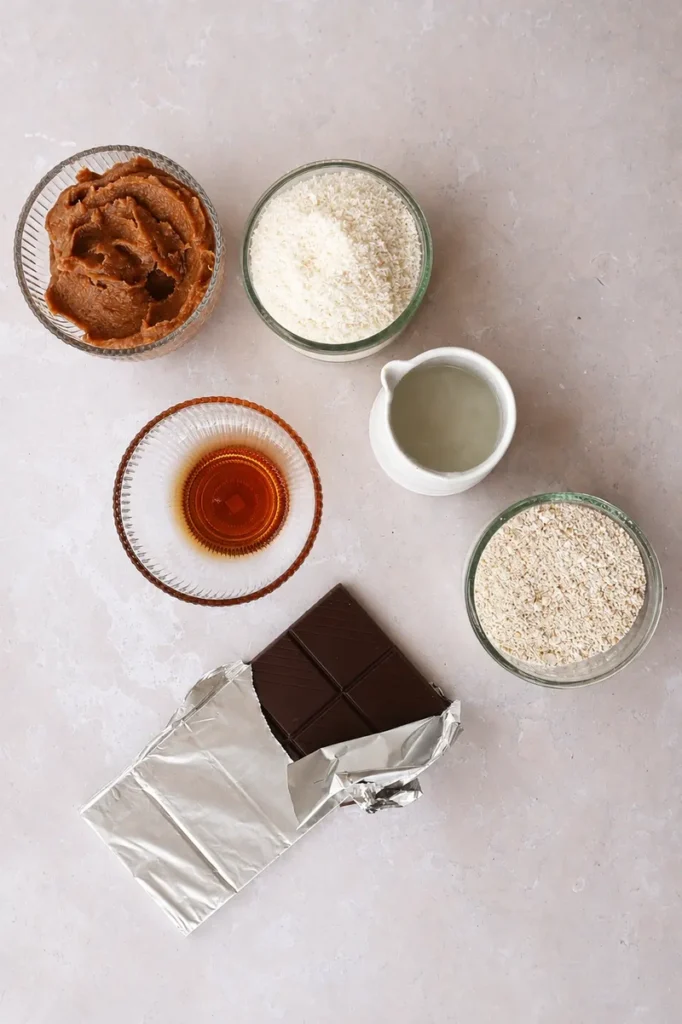
The base is made with oat flour, shredded coconut, maple syrup, and coconut oil. Oat flour gives structure and keeps the recipe naturally gluten-free, as long as you use certified gluten-free oats. Shredded coconut add texture and a subtle sweetness, while maple syrup helps bind the ingredients together and brings a gentle caramel-like note. Coconut oil gives firmness once chilled, helping the base hold its shape without becoming too dry.
The Date Filling
The filling is made with dates, peanut butter, and salt. It is simple, but honestly surprising. Once blended, the dates become soft, sticky, and naturally sweet, while the peanut butter adds creaminess and depth. A pinch of salt is what transforms the flavor, making the filling taste much closer to salted caramel than you might expect. This layer is what gives the bars their rich, chewy center. It is naturally sweet without refined sugar, but still feels indulgent and satisfying.
On top of the filling, we also add salted peanuts. They bring crunch, contrast, and a more intense sweet-salty balance, making the bars feel closer to a real candy bar experience.
The Chocolate Coating
The coating is made with vegan dark chocolate and a little coconut oil. Dark chocolate creates the final rich layer and balances the sweetness of the date filling. Coconut oil helps the chocolate melt more smoothly and gives it a slightly softer texture once set, so the coating is easier to bite into. Once chilled, the chocolate becomes glossy, crunchy and firm, wrapping the bars in a simple but elegant finish.
How to Make Vegan Twix Bars Step by Step
You will find the full recipe card below with exact measurements and simplified instructions. Here, we focus on the process itself, so you can understand how to build the three layers properly: the base, the date filling, and the chocolate coating.
The method is simple, but the resting time is important. These bars need time to chill and set, so the layers become firm enough to cut and coat in chocolate.
Step 1: Prepare the Base
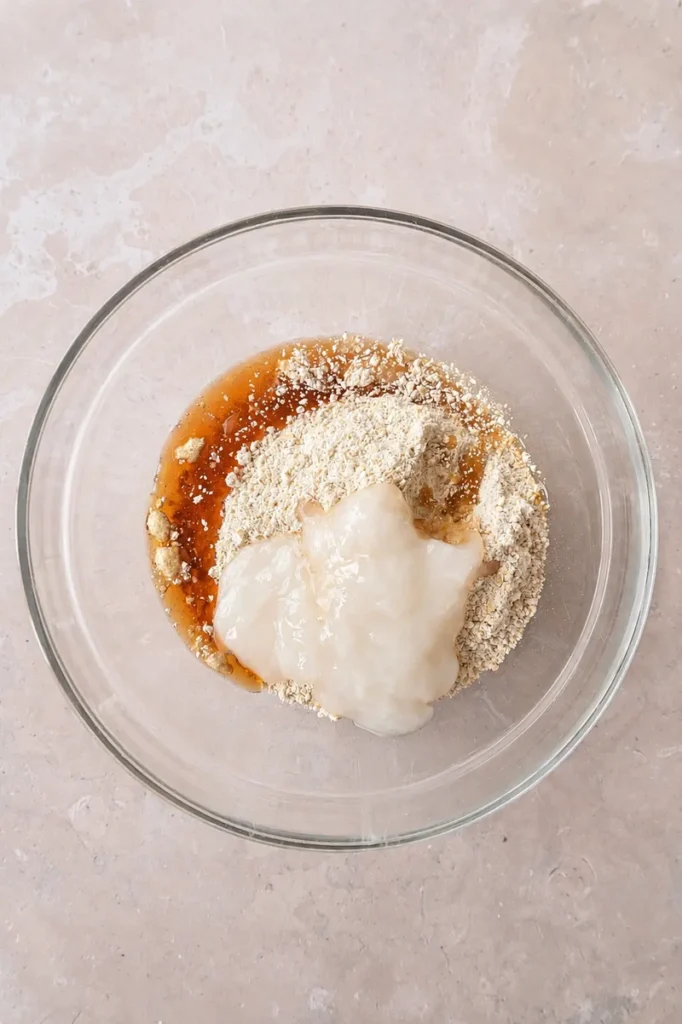
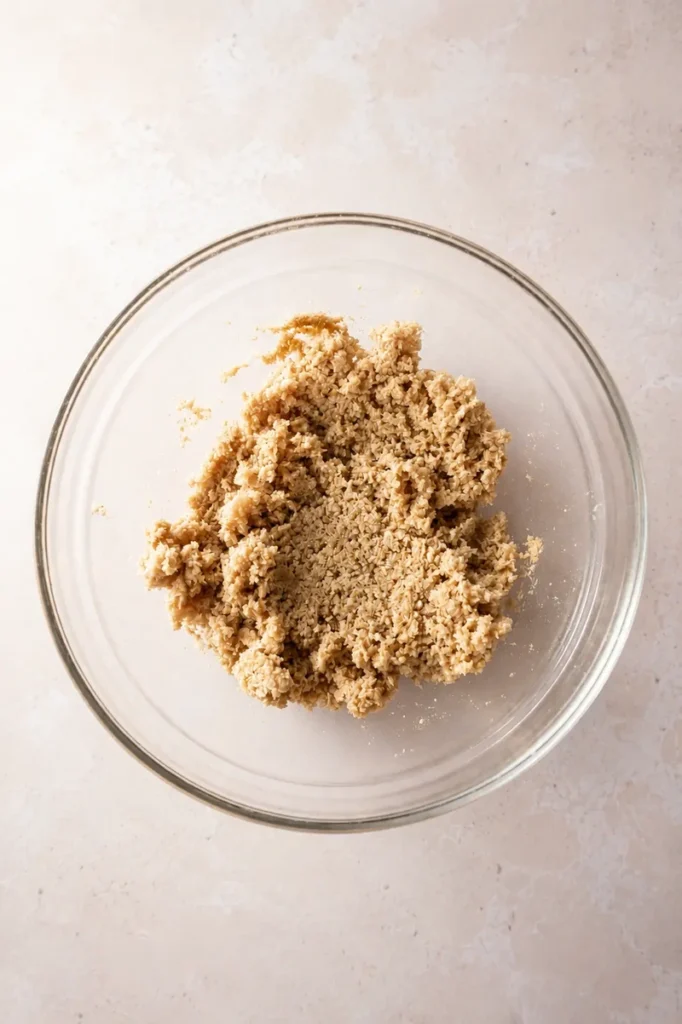
Line a rectangular baking pan with parchment paper. In a bowl, combine the dry ingredients first: oat flour and desiccated coconut. Mix well, then add the melted coconut oil and maple syrup. Stir until the mixture comes together and becomes slightly sticky.
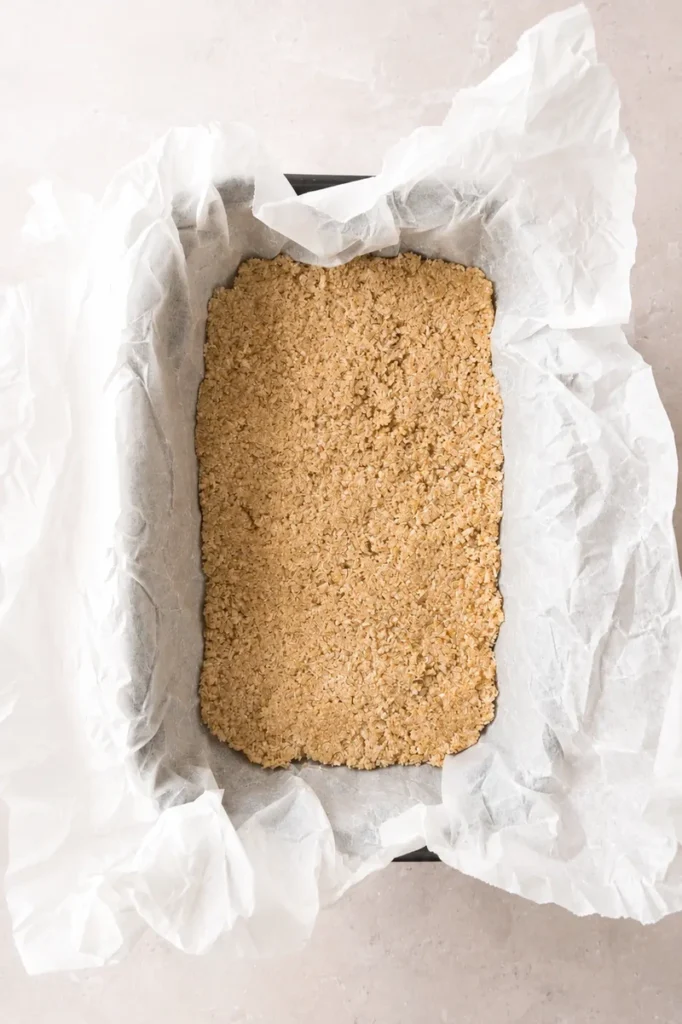
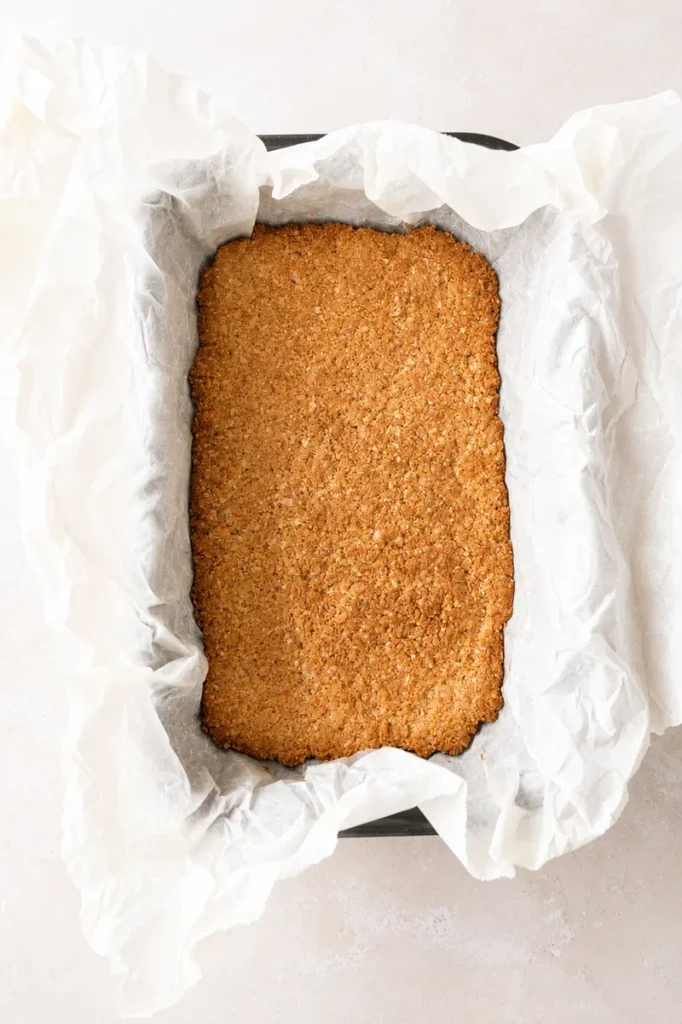
Transfer the mixture to the prepared pan and press it down firmly with your hands or the back of a spoon. The base should be compact and even, so it holds its shape once baked. Bake at 350°F / 180°C for about 10 minutes, then remove from the oven and let it cool completely.
Step 2: Prepare the Date Filling
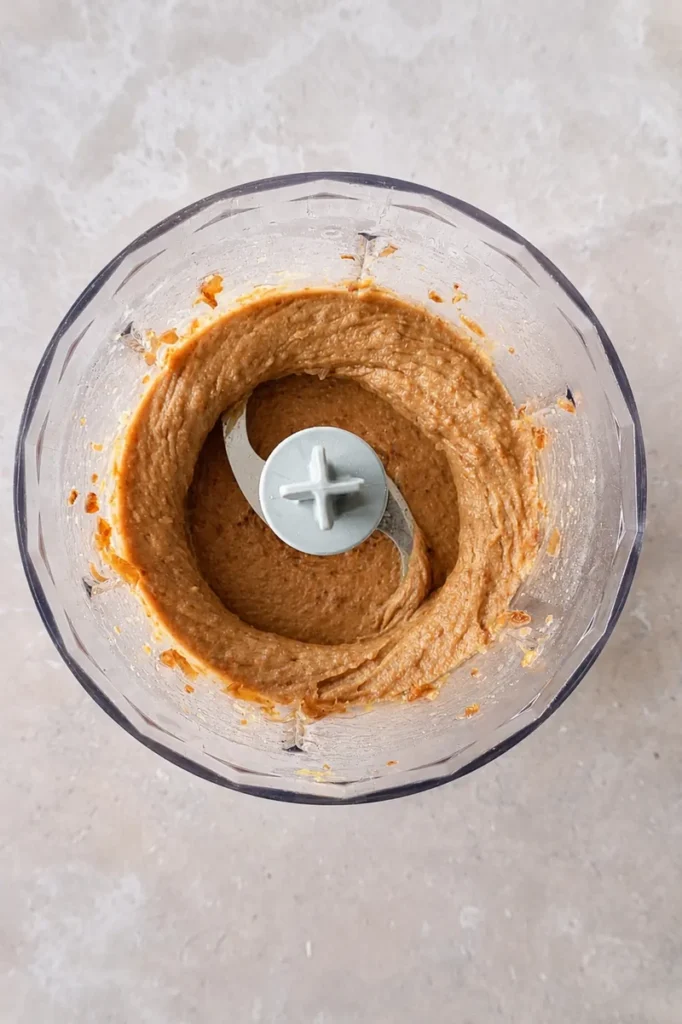
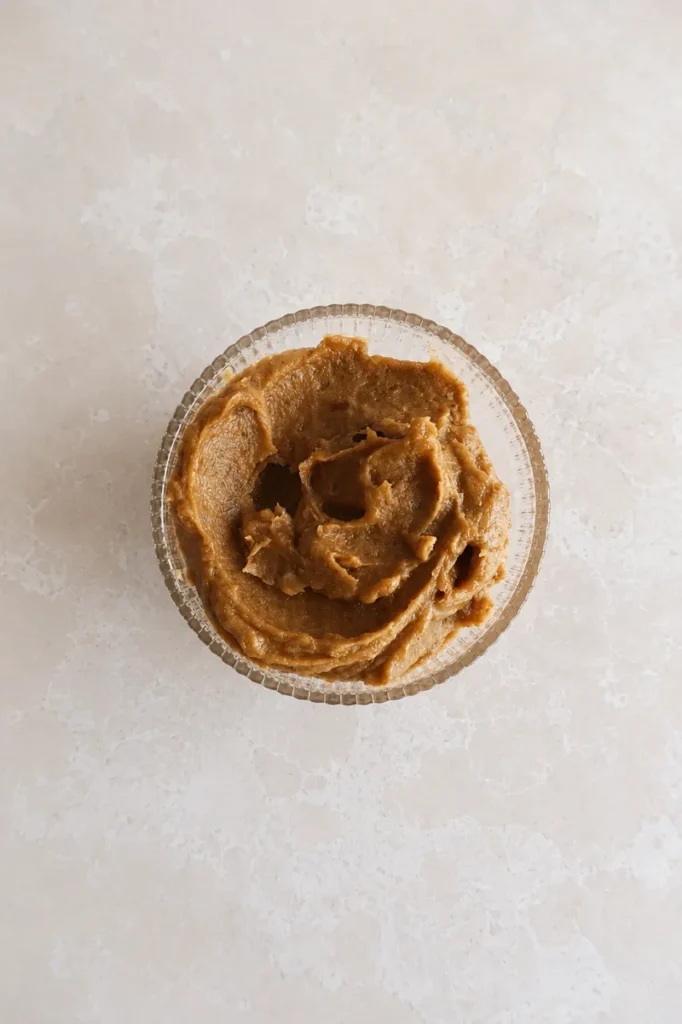
While the base is baking or cooling, prepare the date filling. For this layer, you will use our vegan date sauce recipe, made with dates, peanut butter, and a pinch of salt. It should be smooth, thick, and spreadable, with a flavor that naturally reminds you of salted caramel.
Step 3: Add the Filling
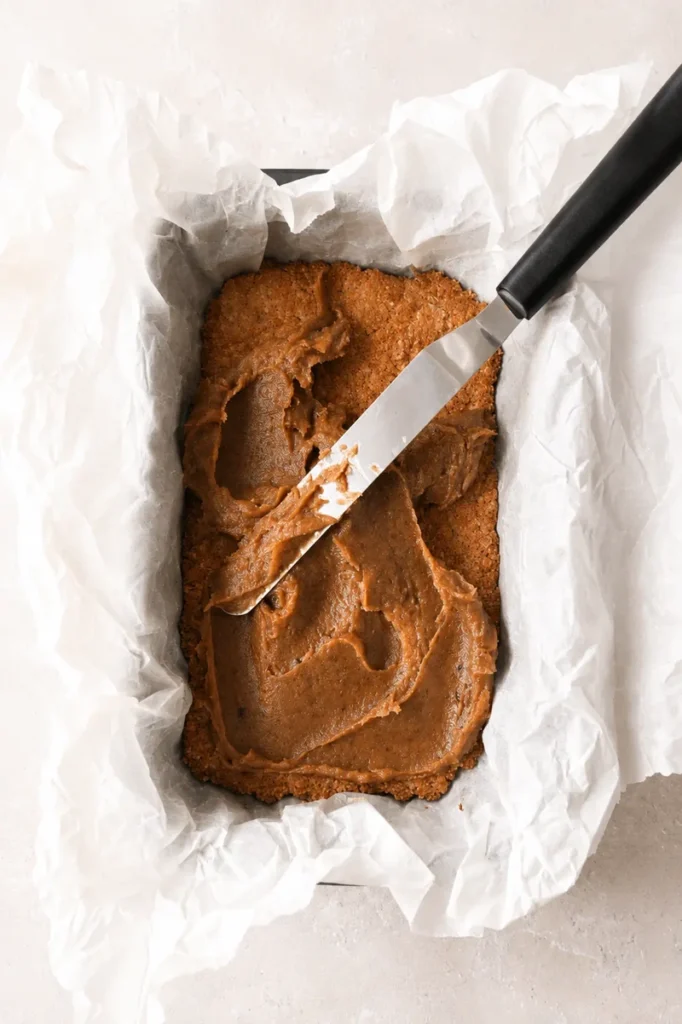
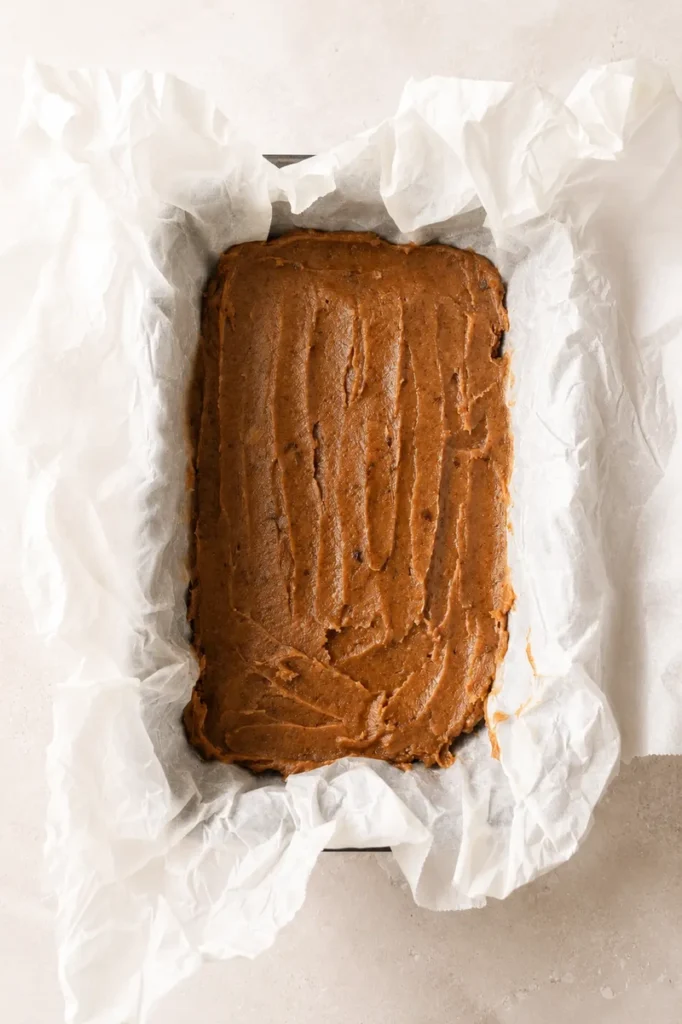
Once the base has cooled completely, spread the date filling evenly over the top. Use a spatula or the back of a spoon to create a smooth layer. If you want more crunch and a stronger sweet-salty contrast, add salted peanuts on top of the filling. This step is optional, but it makes the bars more satisfying and closer to the classic candy bar experience.
Step 4: Freeze Until Firm
Transfer the pan to the freezer and let it set for at least 2 hours. This step is essential. The bars need to be very firm before cutting and coating them in chocolate, otherwise the layers may become too soft and difficult to handle.
Step 5: Melt the Chocolate
Melt the vegan dark chocolate with a small amount of coconut oil using a double boiler. Place the melted chocolate in a wide bowl, so it is easier to dip the bars. The coconut oil helps the chocolate become smoother and creates a more even coating.
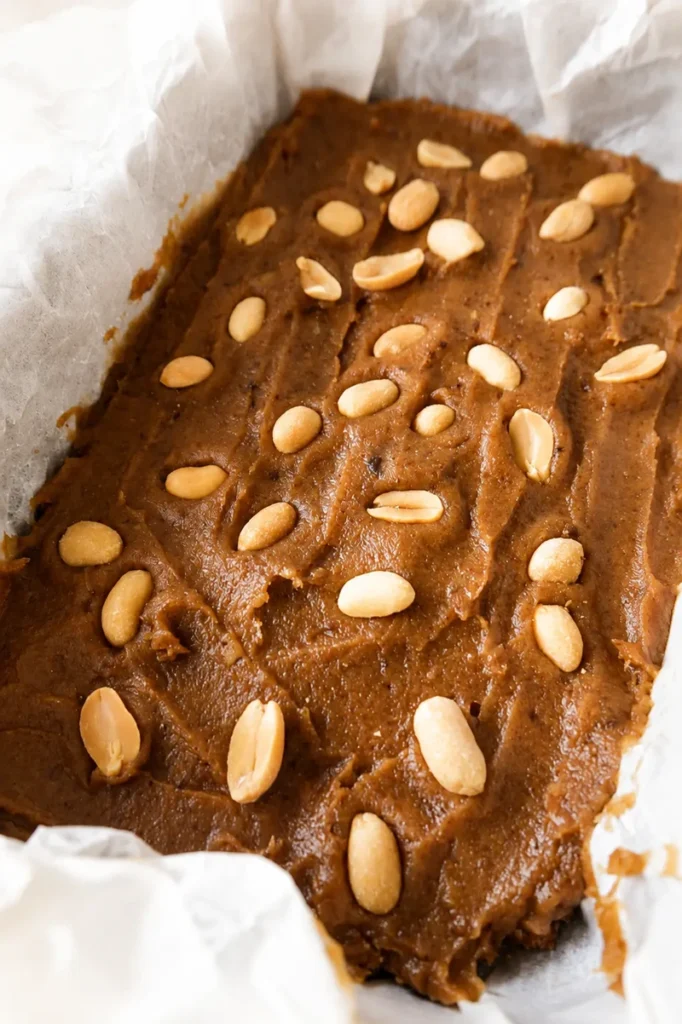
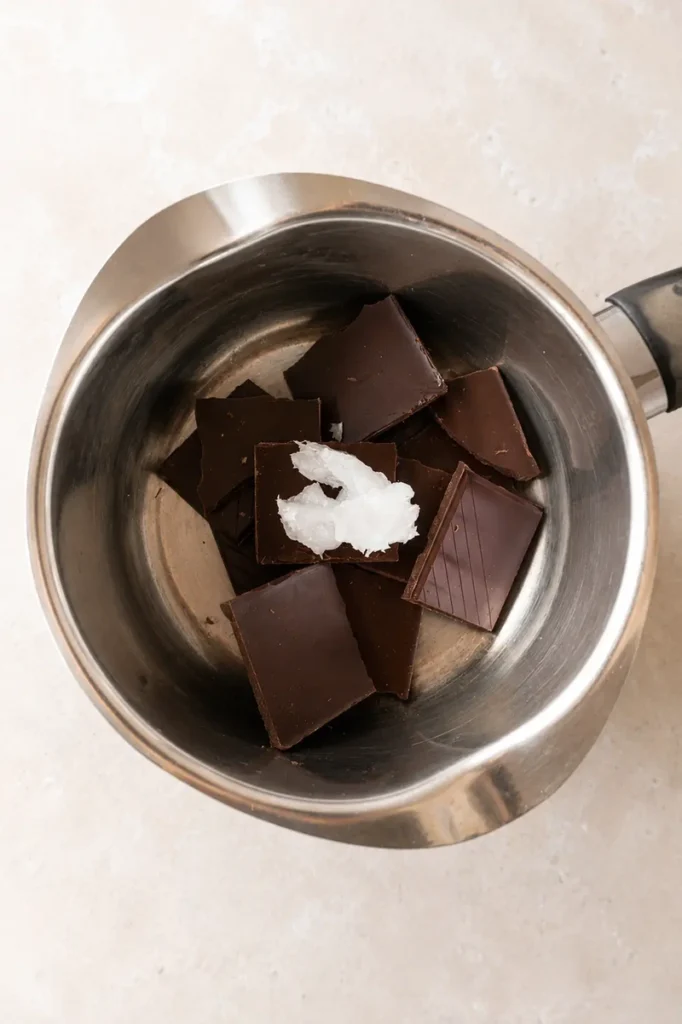
Step 6: Cut and Coat the Bars
Remove the chilled base from the freezer and cut it into bars. Using two forks, dip each bar into the melted chocolate, making sure it is fully coated. Let the excess chocolate drip off, then place the coated bars on a parchment-lined tray.
Step 7: Finish and Chill
Sprinkle a little coarse salt or fleur de sel on top before the chocolate sets. Transfer the bars to the refrigerator and let them firm up completely. They are delicious after a few hours, but honestly, they are even better the next day, when the layers have settled and the texture becomes perfect.
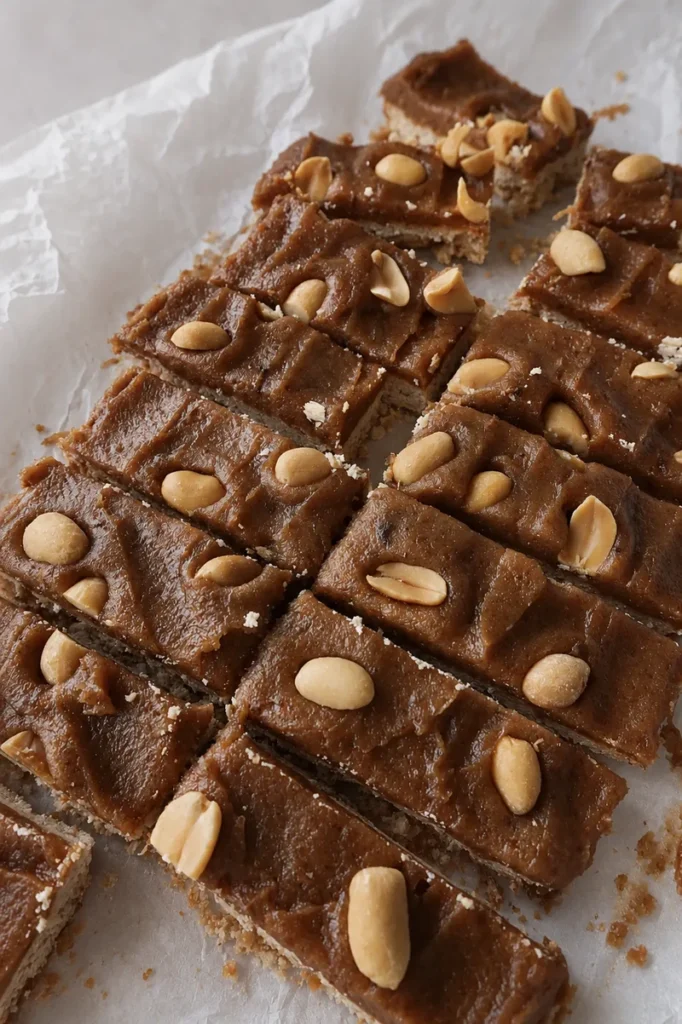
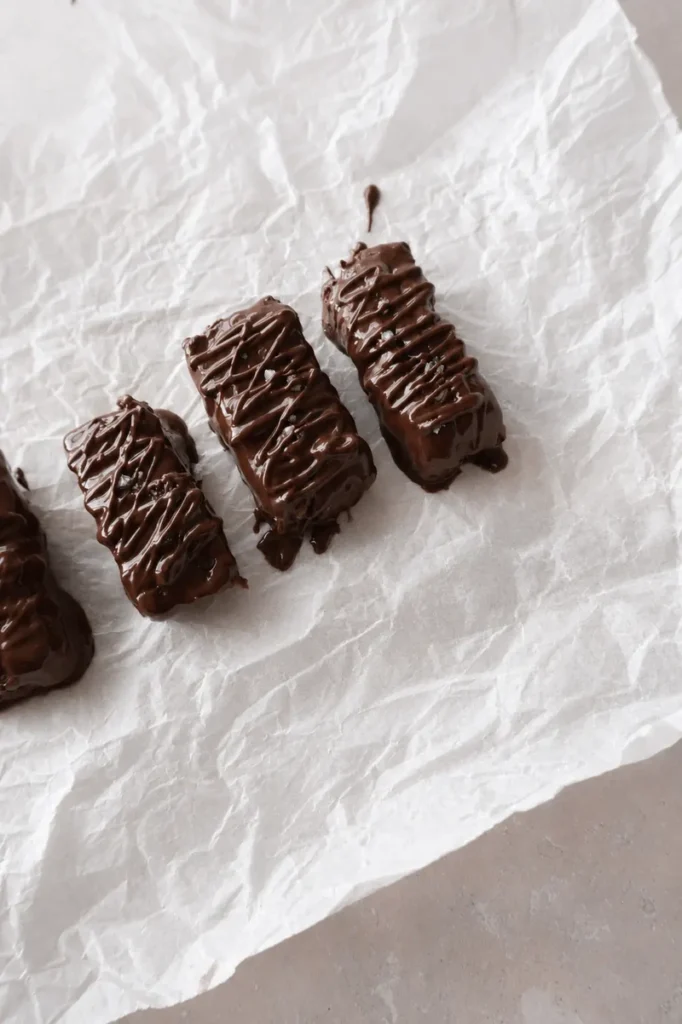
Vegan Twix Bars Substitutions
This recipe is quite flexible, and you can adapt a few ingredients depending on what you have available or on your dietary needs. The important thing is to keep the balance between structure, sweetness, and richness, so the bars still hold their shape and remain satisfying.
Oat Flour
You can replace oat flour with almond flour using the same quantity. The result will be slightly softer and richer, because almond flour contains more fat than oat flour. Oat flour gives a more neutral and slightly firm base, while almond flour creates a more delicate and moist texture. Both options work well. If you need the recipe to be gluten-free, make sure to use certified gluten-free oat flour.
Peanut Butter
Peanut butter can be replaced with other nut butters, such as almond butter, cashew butter, or hazelnut butter. Each one will slightly change the flavor of the filling, but the texture will remain creamy and rich. Peanut butter gives a stronger, more candy-bar-like flavor, while almond or cashew butter creates a milder result.
Nut-Free Option
If you want to make these vegan Twix bars nut-free, you can use tahini instead of peanut butter. Tahini is made from sesame seeds, so it keeps the filling creamy without using nuts. The flavor will be slightly more earthy and less sweet, but it pairs beautifully with dates and chocolate. In this case, you can also omit the salted peanuts on top of the filling, or replace them with sesame seeds or simply leave the filling smooth.
Chocolate
You can use vegan dark chocolate, which gives a more intense and balanced flavor, or choose another vegan chocolate if you prefer a sweeter result. A semi-sweet vegan chocolate will make the bars taste closer to a classic candy bar, while dark chocolate creates a more elegant and less sugary finish.
Maple Syrup
You can replace maple syrup with date syrup using the same quantity. If you prefer a less sweet base,you can also omit the syrup entirely. The base will be a little more neutral and less caramel-like, but the date filling already brings enough natural sweetness to the bars. If the mixture feels too dry without the syrup, add a very small extra amount of melted coconut oil or a spoonful of water to help it come together.
FAQ’s
Here are the most common questions about vegan Twix bars, from storage and substitutions to texture and ingredients. If you don’t find the answer you’re looking for, feel free to leave it in the comments and we’ll be happy to help.
Yes, these vegan Twix bars can be considered a healthier alternative to commercial candy bars. They are still a sweet treat, so they are not meant to be a low-calorie or diet recipe. However, they are made with simple, nourishing ingredients such as oat flour, dates, peanut butter, coconut, and dark chocolate. The date filling brings natural sweetness and fiber, while the peanut butter adds richness and healthy fats. The result is indulgent, but more balanced than a traditional candy bar, and also vegan, gluten-free, and refined sugar-free.
Store the vegan Twix bars in an airtight container in the refrigerator. They keep well for about 5–7 days. The fridge helps the chocolate stay firm and keeps the date filling compact and easy to bite into. For the best texture, let them sit at room temperature for 5 minutes before eating.
Yes, vegan Twix bars freeze very well. Place them in an airtight container, separating the layers with parchment paper so they do not stick together. Store them in the freezer for up to 2 months. When ready to eat, let them thaw for a few minutes at room temperature, or move them to the fridge until softened.
This usually happens if the base was not pressed firmly enough, or if the bars were not chilled long enough before cutting and coating. Make sure to press the base very well into the pan and freeze the bars for at least 2 hours before slicing. The colder and firmer they are, the easier they will be to coat in chocolate.

Easy Vegan Twix Bars with Dates
Equipment
- 1 Rectangular baking pan I used a 8 x 5.5 inches
- 1 Small saucepan + heatproof bowl, for double boiler You can also use the microwave for melting the chocolate
- 1 Wide bowl
- 2 forks, for coating Optional
Ingredients
For the Base
- ½ cup Desiccated coconut
- ⅓ cup Oat Flour
- 3 tbsp Melted Coconut Oil
- 1 tbsp Maple Syrup
- ½ tsp Vanilla Extract
- 1 pinch Sea Salt
For the Filling
- 1 cup Dates, pitted
- 1½ tbsp Peanut Butter
- 1 pinch Sea Salt
- 1–2 tbsp Warm Water If needed
- 1 Handfull Peanuts Optional
For the Chocolate Coating
- 5 oz Melted Chocolate
- 2 tsp Coconut Oil
Instructions
- Line a rectangular baking pan with parchment paper, leaving a little overhang on the sides so you can lift the bars out easily later.
- In a mixing bowl, combine the oat flour and desiccated coconut. Add the melted coconut oil and maple syrup, then mix until the mixture comes together and feels slightly sticky.
- Transfer the mixture to the prepared pan and press it down firmly into an even layer, using your hands or the back of a spoon.
- Bake at 350°F / 180°C for about 10 minutes, then remove from the oven and let it cool completely.
- Prepare the salted date filling by blending the dates with peanut butter and salt until smooth, thick, and spreadable.
- Once the base is completely cool, spread the date filling evenly over the top.
- Sprinkle salted peanuts over the date filling, if using, and press them down gently so they stick to the surface.
- Place the pan in the freezer for at least 2 hours, or until the layers are firm enough to cut cleanly.
- Melt the vegan chocolate with the coconut oil using a double boiler, then transfer it to a wide bowl.
- Remove the chilled base from the pan and cut it into bars with a sharp knife.
- Using two forks, dip each bar into the melted chocolate until fully coated. Let the excess chocolate drip off, then place the bars on a parchment-lined tray.
- Sprinkle a little coarse salt or fleur de sel on top before the chocolate sets. Transfer the bars to the refrigerator until firm. For the best texture, let them rest overnight before serving.
Notes
Store the vegan Twix bars in an airtight container in the refrigerator for up to 5–7 days. For the best texture, let them sit at room temperature for about 5 minutes before eating. You can also freeze them for up to 2 months, separating the layers with parchment paper to prevent sticking. Nutrition Note:
The nutritional information is an estimate and may vary depending on the exact chocolate, dates, peanut butter, coconut oil, and quantities used. For the most accurate result, adjust the calculation based on the specific products and amounts you choose. Recipe Testing Note:
All recipes on this site, including these vegan Twix bars, are tested before publication. The photos are original and taken during the actual recipe testing process, so they reflect the real final dish prepared in our kitchen. Substitutions Note:
If you’d like to try ingredient substitutions or different variations, you can find all the suggested options in the dedicated sections above the recipe card.
Nutrition