
This article contains affiliate links. If you purchase through them, INUMAMI may earn a small commission at no extra cost to you. We only recommend what we genuinely use and trust and your support means the world to us.
Beetroot is one of my favourite ingredients. I eat it all the time, probably at least every other day, and over the years I have spent a lot of time learning how to work with it in as many ways as possible.
I have already written a complete guide on how to cook beetroot, and I use it in many different recipes, from simple vegetable dishes to a creamy pink hummus with chickpeas. But one of the most interesting ways to transform beetroot is through fermentation.
Fermenting beets changes their flavour completely. Their natural earthiness becomes brighter, tangier, and more complex, while their texture stays firm and satisfying. It is one of those simple kitchen techniques that can turn a familiar ingredient into something deeper and more alive.
In this guide, you will find everything you need to know to ferment beets at home in a safe, technically clear, and simple way.
What Are Fermented Beets and Why They Help Gut Health
Fermented beets are raw beets preserved through lacto-fermentation. No panic, there is no milk involved, no animal product, and I will explain exactly what it means in a moment.
Instead of relying on vinegar like the ones you buy, the beets are submerged in a simple salt brine and left to ferment until their flavour becomes tangy, bright, and more complex.
Lacto-fermentation is a natural process where lactic acid bacteria, already present on the vegetables and in the environment, begin to transform some of the natural sugars in the beets into lactic acid. This is what gives fermented vegetables their characteristic acidity and helps create an environment where the beets can be preserved safely.
They are considered gut-friendly because, when they are not pasteurized, they can contain live beneficial bacteria. They also bring acidity, minerals, fibre, and complexity to a meal, making them a beautiful way to support a more varied and plant-rich way of eating.
And no, unfortunately it is not exactly the same as buying a jar of beets from the supermarket. Most supermarket beets are pickled, preserved with vinegar, or pasteurized to make them shelf-stable. They can still be useful and delicious, but they are not the same as raw beets slowly fermented in salt brine. In a true lacto-fermentation, the flavour develops through time, bacteria, salt, and acidity, not simply through vinegar.
The only exception is if you buy raw, unpasteurized, naturally fermented beets, usually kept in the refrigerated section and clearly labelled as fermented or containing live cultures. In that case, they are much closer to what we are making at home.
What You Need to Ferment Beets at Home
You do not need many things to ferment beets at home. This is one of the reasons I love this method so much: it is simple, almost ancient, but still very precise. What matters is not having complicated equipment, but using the right balance of salt, water, clean tools, and time.
For this method, you will need:
- Fresh raw beets — choose firm beets without soft spots or signs of spoilage. You can peel them or simply scrub them very well, depending on your preference.
- Water — used to create the brine. If your tap water is heavily chlorinated, filtered water is a better choice, but bottled still water also works well.
- Salt — the essential ingredient for fermentation. Use fine sea salt, pickling salt, or another non-iodized salt without additives if possible.
- A clean glass jar — large enough to hold the beets and the brine, with a little space left at the top.
- A fermentation weight — or anything food-safe that can keep the beets fully submerged under the brine.
- Optional aromatics — garlic, ginger, bay leaves, black peppercorns, cumin seeds, coriander seeds, or chili can all be added if you want to build more flavour.
Honestly, when I first started fermenting I just used a glass jar, the kind you’d normally keep cookies in. I realized that if I wait to have all the “right” tools, I struggle to get started. So I recommend the same to you: don’t wait until everything is perfect. That said, later on I did buy tools like a fermenting jar with airlock and glass weight, made specifically for fermentation, and everything became more convenient. But it’s not necessary at the beginning!
How to Ferment Beets Step by Step
Fermenting beets is mostly about creating the right environment: clean jar, fresh raw beets, enough salt, and enough brine to keep everything completely submerged. Once the beets are covered and protected from oxygen, time does the quiet work.
If you are like me when I first started fermenting, you might feel a bit nervous about doing something wrong or ending up with something unsafe. I have been through those same worries, and I can reassure you that fermentation is more predictable than it seems. In many ways, it is easier to spot a problem here than with an expired industrial product, because everything is visible and happening right in front of you.
You will quickly learn what looks and smells right. A healthy ferment smells pleasantly sour and fresh, not rotten or putrid. If something is clearly off, you will notice it. That visibility is actually one of the reasons fermentation can feel so reassuring once you get used to it.
1. Prepare the beets
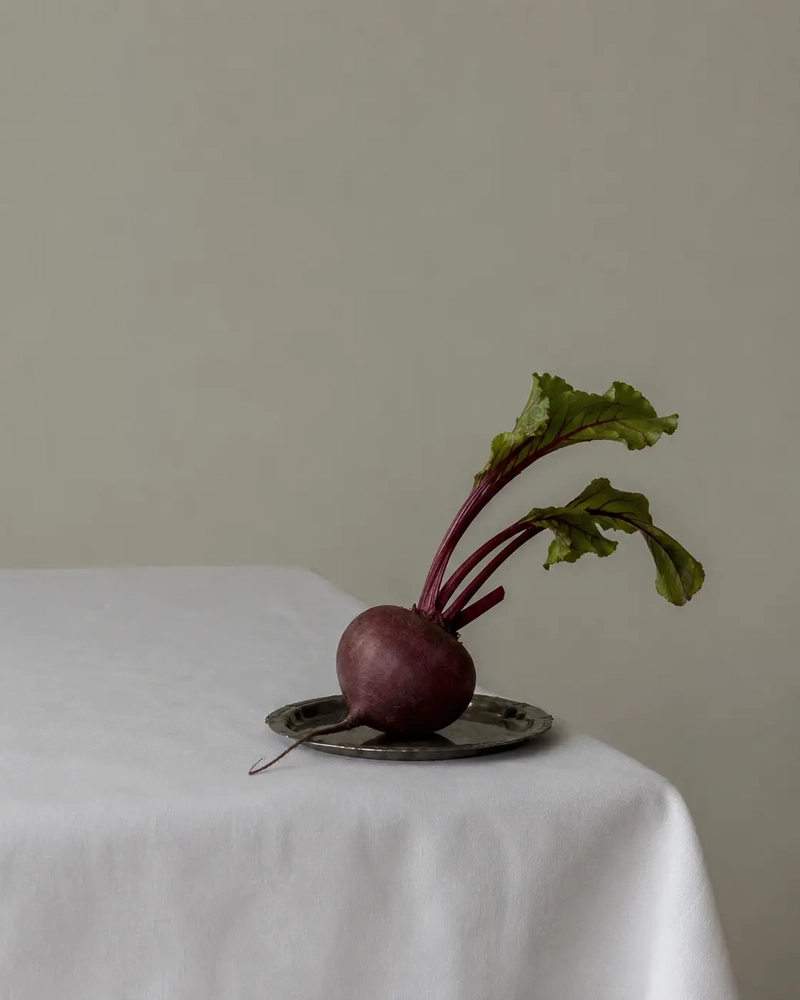
Start with fresh, firm raw beets. Wash them well under cool running water to remove any dirt, then trim the ends. You can peel them if you prefer a cleaner, softer result, or leave the skin on if the beets are organic and well scrubbed.
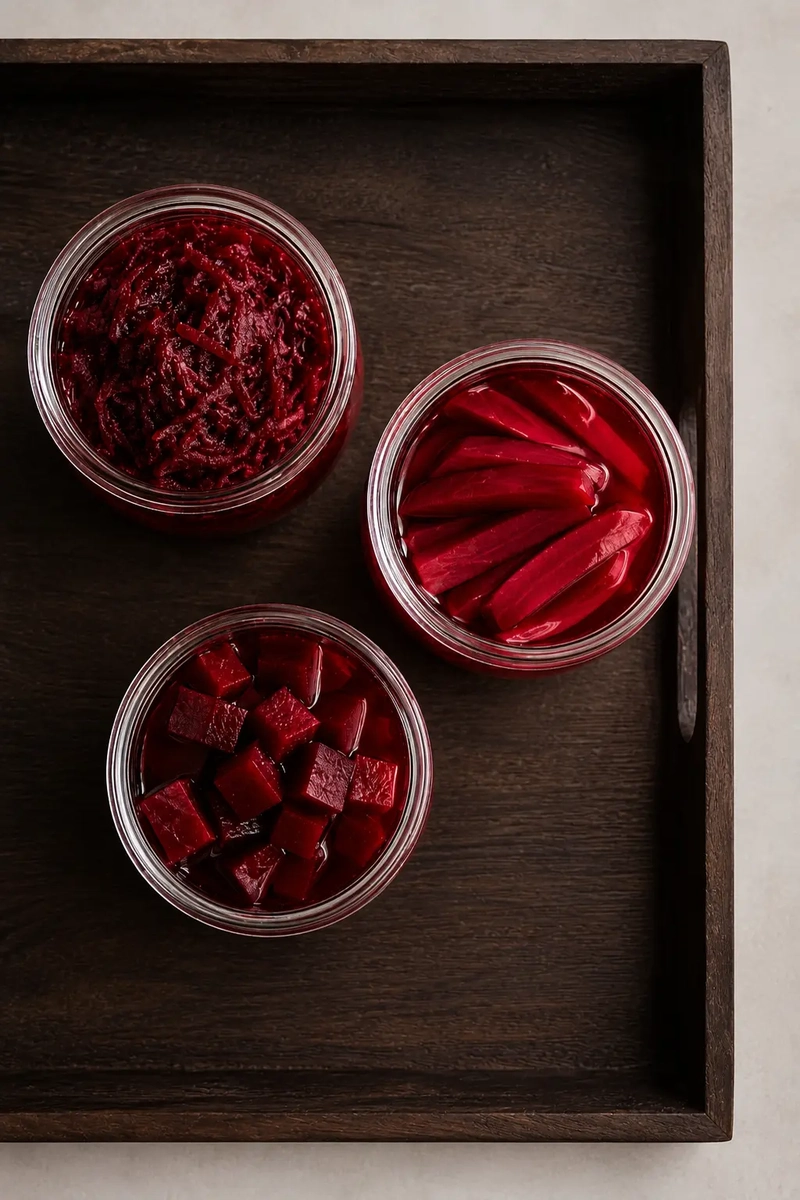
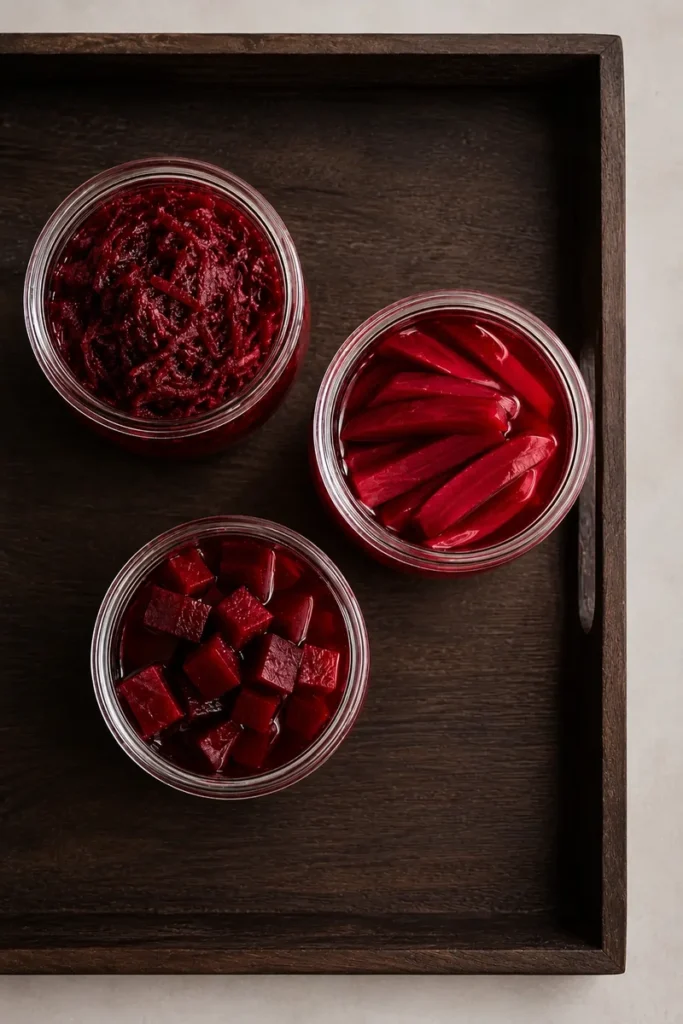
Cut the beets into thin slices, small cubes, sticks, or grate them if you prefer. The smaller the pieces, the faster and more evenly they will ferment. My go to is grated beets, because they ferment quickly and develop a softer texture, while slices or sticks stay firmer but still absorb the brine beautifully.
2. Make the salt brine
Prepare a 3% salt brine by mixing:
30 g salt + 1 litre water
Stir until the salt has completely dissolved. If you are making a smaller quantity, use the same proportion:
15 g salt + 500 ml water
You do not need to calculate the salt based on the weight of the beets. Instead, you simply make enough brine to completely cover them once they are in the jar. As a rough guide, a 1-litre jar filled with cut beets usually needs about 500–700 ml of brine, depending on how tightly the beets are packed.
This level of salt is strong enough to support fermentation while helping protect the beets from spoilage. Don’t forget to use filtered water or still bottled water if your tap water is heavily chlorinated.
3. Pack the beets into the jar
Place the cut beets inside a clean glass jar. Do not pack them too tightly; the brine needs to move between the pieces. If you are using aromatics, add them between the layers rather than only on top. Good options are garlic, ginger, bay leaves, black peppercorns, cumin seeds, coriander seeds, or a small piece of chili.
4. Cover with brine
Pour the salt brine over the beets until they are completely covered. There should be enough liquid above the vegetables to keep them protected. This is the most important part: the beets must stay fully submerged during fermentation. Anything exposed to air is more likely to develop mold or spoil.
5. Add a weight
Place a fermentation weight if you have it on top of the beets to keep them under the brine. If you do not have one, you can use a small clean glass jar, a food-safe weight, or a small sealed bag filled with extra brine. Do not use anything that can react with acidity, such as metal, and make sure whatever touches the brine is very clean.
6. Cover the jar
Close the jar with a fermentation lid or airlock if you have one. If not, use a normal lid but do not tighten it completely, or remember to open it briefly once a day to release the gas. Fermentation produces carbon dioxide, so the jar needs a way to let pressure escape.
7. Let the beets ferment
Place the jar somewhere away from direct sunlight, at room temperature. A cool kitchen counter or cupboard works well. Fermentation time depends on temperature, size of the beet pieces, and how tangy you want the final result. Start tasting after about 5 to 7 days. If the flavour is still too mild, let the beets ferment longer.
When they taste pleasantly tangy, bright, and slightly earthy, they are ready.
8. Move to the fridge
Once the beets have reached the flavour you like, close the jar and move it to the fridge. The cold will slow the fermentation down and help preserve the flavour and texture. Keep the beets covered in their brine while storing them.
How to Know If Your Fermented Beets Are Safe to Eat
As I already told you, the first times I was fermenting I was obsessed with the fear that something might go wrong. We are used to storing everything in the fridge, following expiration dates and precise instructions. Fermentation is one of those processes that seem out of control but, in reality, it is quite the opposite. It happens right before our eyes, and everything that can occur is, first of all, visible. Fermentation gives you many signs. You can look, smell, and taste carefully, and most of the time it is quite clear whether the ferment is healthy or not.
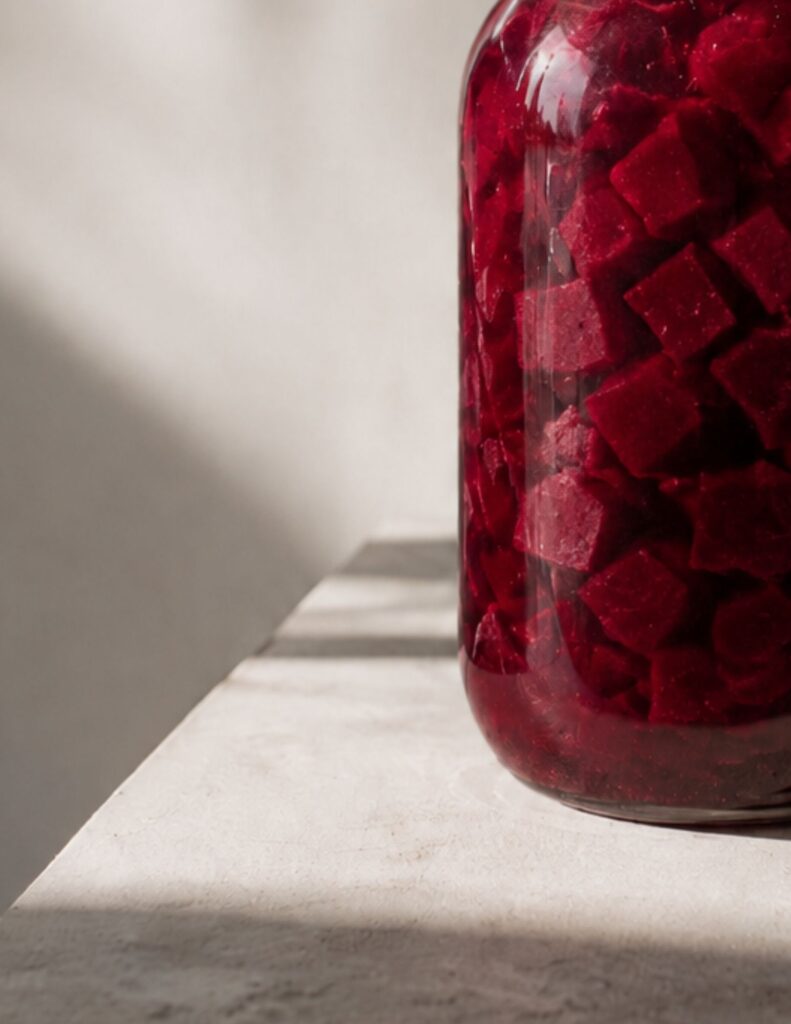
A healthy jar of fermented beets should smell pleasantly sour, fresh, earthy, and slightly tangy. The colour will usually become deeper and more intense, and you may see bubbles, especially during the first days. The brine can also become slightly cloudy, which is usually normal in lacto-fermentation.
The beets should stay firm enough to bite, even if they soften slightly over time. They should taste bright, salty, tangy, and clean, not rotten, bitter in a strange way, or unpleasant.
The most important thing is that the beets remain completely submerged under the brine. Anything exposed to air is more likely to develop mold, so check the jar during the first days and gently press the beets back down if needed. If you feel more comfortable using a jar specifically made for fermentation, like the one I use, go for it. Nothing is better spent than peace of mind in the kitchen.
Normal signs during fermentation
- Bubbles — a normal sign that fermentation is active.
- A pleasantly sour smell — this is what you want.
- Cloudy brine — usually normal, especially after a few days.
- A deeper red colour — the beets will release their pigment into the brine.
- Light pressure in the jar — normal if the lid is closed, which is why the jar needs to be burped or fitted with an airlock.
- A slightly tangy taste — a mild, pleasant sourness .
When not to eat fermented beets
Do not eat the fermented beets if you see visible mold, especially fuzzy growth or spots that are green, blue, black, brown, or pink. If there is confirmed mold anywhere in the jar, it is safer to discard the whole batch.
It is also worth remembering that not every fermentation turns out perfectly, especially when you are just starting. This is completely normal and part of the learning process. The good news is that it is usually easy to avoid problems by following a few simple rules, like keeping everything clean, using the right amount of salt, and making sure the beets stay fully submerged in the brine.
- Discard the ferment if it smells rotten, putrid, cheesy in a bad way, or deeply unpleasant. A sour smell is normal; a spoiled smell is not.
- Do not eat the beets if the texture has become slimy, mushy, or slippery in a way that feels wrong.
- Avoid consuming the beets if the brine looks unusually thick and unpleasant rather than simply cloudy.
- If you notice any strong off-putting odors beyond normal fermentation, it is safer to discard the batch.
- If you are unsure about the safety of the ferment, do not force yourself to taste it.
- When something looks or smells clearly off, it is better to start again with fresh beets, clean tools, and the correct salt brine.
How Long to Ferment Beets
My simplest answer is this: start checking your fermented beets after 5 to 7 days.
This is usually the minimum amount of time needed for the beets to begin developing that pleasantly tangy, sour, more complex flavour. Before that, they may simply taste like salty raw beets. After a few more days, the flavour becomes deeper, brighter, and much more interesting.
That said, fermentation is not a fixed timer. It depends on several factors: the temperature of your kitchen, the size of the beet pieces, the amount of salt in the brine, and how tangy you want the final result to be.
If your kitchen is warm
If your kitchen is warm, fermentation will happen faster. I currently live in Malta and my kitchen is definitely warm so for my summer’s fermentations, few days are enough. Start tasting after 5 days. If the beets already taste pleasantly sour and bright, you can move them to the fridge. A warm kitchen can make fermentation more active, but too much heat is not ideal. If the room feels very hot, keep the jar in the coolest part of the kitchen, away from direct sunlight.
If your kitchen is cool
If your kitchen is cool, like a London’s kitchen during winter time ( planning a vegan trip to London? check out my London best vegan restaurant’s guide! ) the fermentation will be slower. In this case, the beets may need 10 to 14 days to develop a good flavour. This does not mean something is wrong. It simply means the bacteria are working more slowly. Give them time.
If the beets are grated
Grated beets ferment faster because they have much more surface area exposed to the brine. They may be ready in 5 to 7 days, sometimes even a little sooner if the room is warm. The texture will also be softer and more similar to a relish or fermented salad.
If the beets are sliced or cut into sticks
Slices, cubes, and sticks usually need a little more time. They stay firmer and more satisfying to bite, but they ferment more slowly than grated beets. For this cut, I usually start tasting after 7 days and often let them go for 10 to 14 days if I want a deeper flavour.
If you want a mild flavour
For a milder result, stop the fermentation earlier, around 5 to 7 days, as soon as the beets taste lightly tangy but still sweet and earthy. This is a good option if you are new to fermented foods or want something delicate to add to salads, bowls, or toast.
If you want a stronger flavour
For a stronger, more acidic ferment, let the beets continue for 2 weeks or a little longer, always making sure they remain fully submerged under the brine and show no signs of spoilage. The longer they ferment, the more sour and complex they become. At some point, it becomes a matter of taste rather than a strict rule.
The best rule: taste and observe
Fermented beets are ready when they taste pleasantly tangy, lightly sour, earthy, and clean. They should smell fresh and acidic, not rotten or unpleasant. Once they reach the flavour you like, move the jar to the fridge. The cold will slow the fermentation down and help preserve both flavour and texture.
There is no strict maximum time, but leaving beets to ferment for too long at room temperature can make them overly sour, very soft, and less pleasant to eat. In most home kitchens, it is best not to go much beyond 2 to 3 weeks at room temperature. After that point, the flavour can become too sharp and the texture may start to break down.
Ideas for How to Eat Fermented Beets
I have a simple rule: whenever I have fermented foods in the fridge, I try to include a small portion in my meals at least once a day. They help support gut health by introducing beneficial bacteria that can aid digestion and keep things balanced. But I also love letting them become the star of the plate. The ideas below are just a starting point, the best way is to taste them and let yourself be inspired.
Add Them to Bowls and Salads
This is probably my favourite way to eat fermented beets. They bring a very particular accent to salads and bowls: tangy, earthy, slightly salty, and bright enough to change the whole balance of the dish. I especially love them with beans. The creaminess and mildness of beans work beautifully with the acidity of fermented beets, creating a contrast that feels fresh, nourishing, and very satisfying. They also add a beautiful deep pink colour, which looks especially good next to green leaves, herbs, or vegetables.
If you want an easy place to start, you can follow my vegan bean salad recipe and simply replace the cooked beets with fermented beets. The result will be sharper, brighter, and more complex, with the same generous feeling of a simple bean salad but with a more interesting fermented note.
Serve Them with Hummus or Creamy Spreads
Fermented beets are beautiful with hummus and creamy spreads because they add exactly what soft, smooth textures often need: acidity, freshness, and contrast.
You can spoon them directly on top of classic hummus, white bean dip, vegan ricotta, or any creamy vegan spread. Their tangy flavour cuts through the richness, while their deep pink colour makes even the simplest plate look intentional.
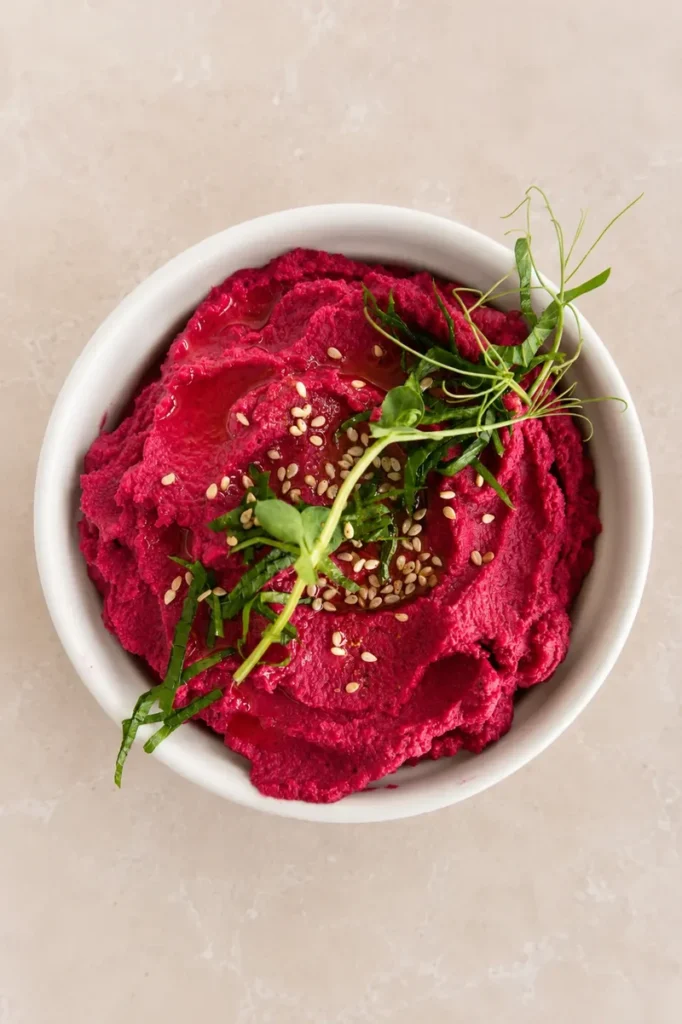
They also work especially well with pink hummus. I already have a recipe for a pink hummus made with chickpeas and beets, and if you garnish it with fermented beets on top, the flavour becomes even more layered: earthy, creamy, acidic, and bright all at once.
Use Them as a Side for… A Side!
Fermented beets do not always need to be the main element of the plate. Sometimes, their best role is much simpler: a small side, a garnish, or a bright accent placed next to something warm, roasted, or deeply savoury.
I love serving them next to roasted vegetables because they add contrast without requiring any extra dressing. Their acidity cuts through the sweetness of roasted vegetables, while their colour makes the plate feel more complete and alive.
They are especially good with roasted green beans, potatoes, carrots, cauliflower, or any vegetable that has been cooked until golden and slightly caramelized. A few spoonfuls of fermented beets on the side can enrich the whole dish!
Blend Them Into a Creamy Spread
Another beautiful way to use fermented beets is to blend them into a cream or spread. In this form, their flavour becomes more concentrated and easier to use in different dishes.
You can blend them on their own if you want the full intensity of their tangy, earthy, fermented flavour. This creates a bold beet cream that works beautifully with savoury proteins, such my special and crunchy vegan schnitzel, grilled tofu, tempeh, or roasted vegetables.
You can also use it as a filling for sandwiches, wraps, or toast, especially when you want something acidic and colourful to balance richer ingredients.
If the flavour feels too intense, blend the fermented beets with chickpeas or white beans. This softens the acidity, makes the texture creamier, and turns the beets into a more delicate spread, somewhere between a hummus, a bean cream, and a fermented vegetable dip. Thank me later.